• Prop Gallery
    • Costume Gallery
    • Project Details
    • Video links
    • shirts
    • Blog
    • Info
  • EMJ Custom Guitars
    • Gallery
    • Blog
  • About
Menu

Coregeek

  • Props/Costumes
    • Prop Gallery
    • Costume Gallery
    • Project Details
    • Video links
    • shirts
    • Blog
    • Info
  • EMJ Custom Guitars
  • The Woodshop
    • Gallery
    • Blog
  • About
1415691106343.jpeg

Prop Build Photo Progression: Lady Sif Sword (Thor 2 variant)

July 2, 2014

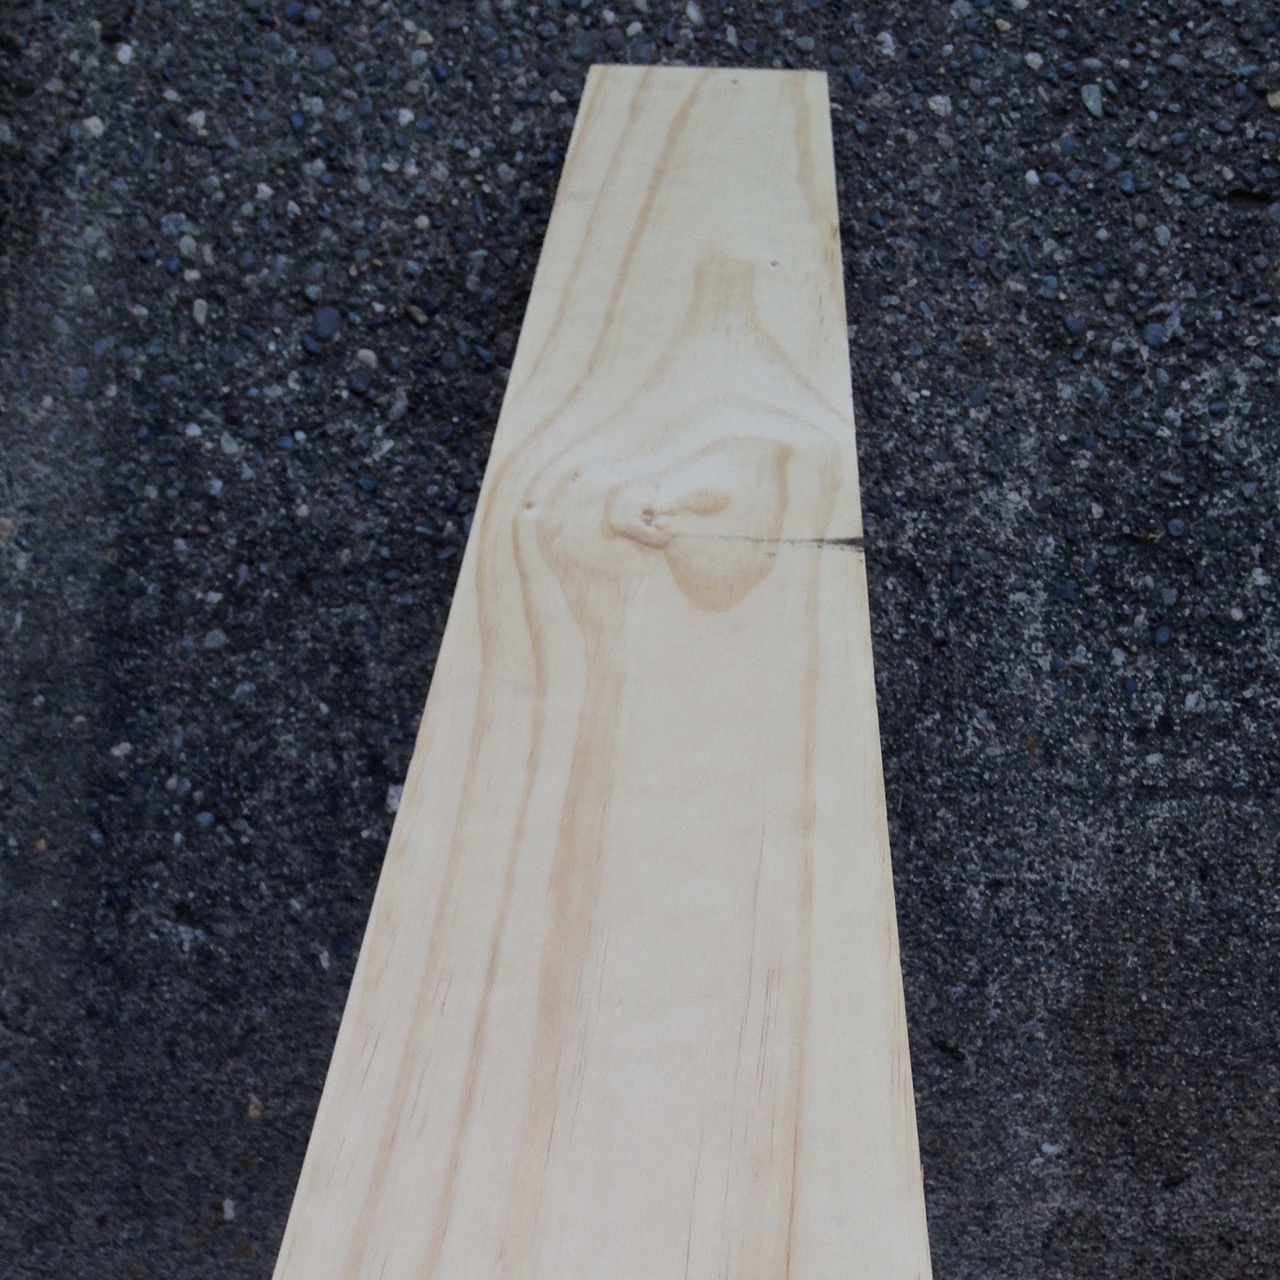
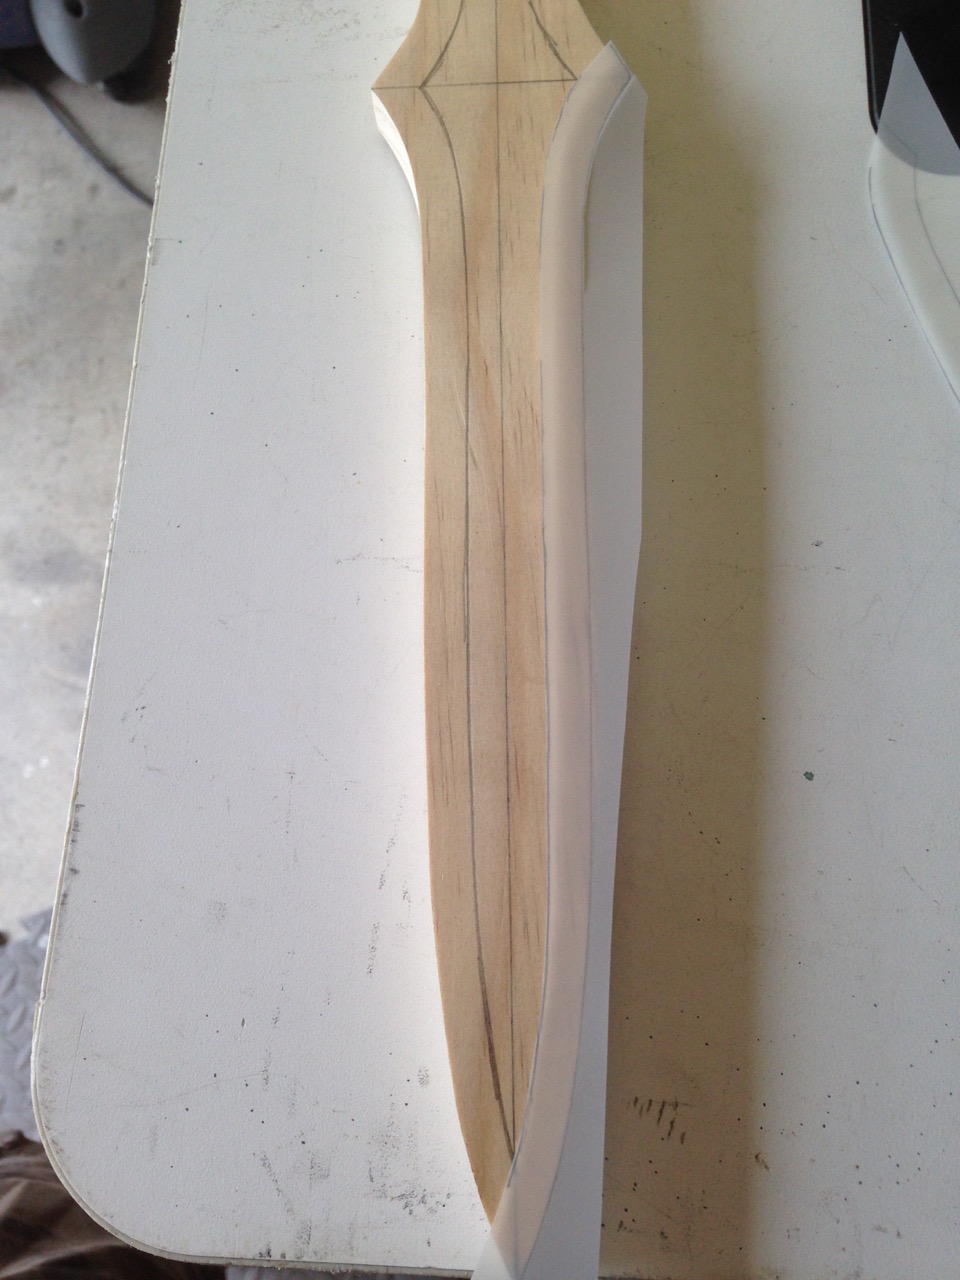
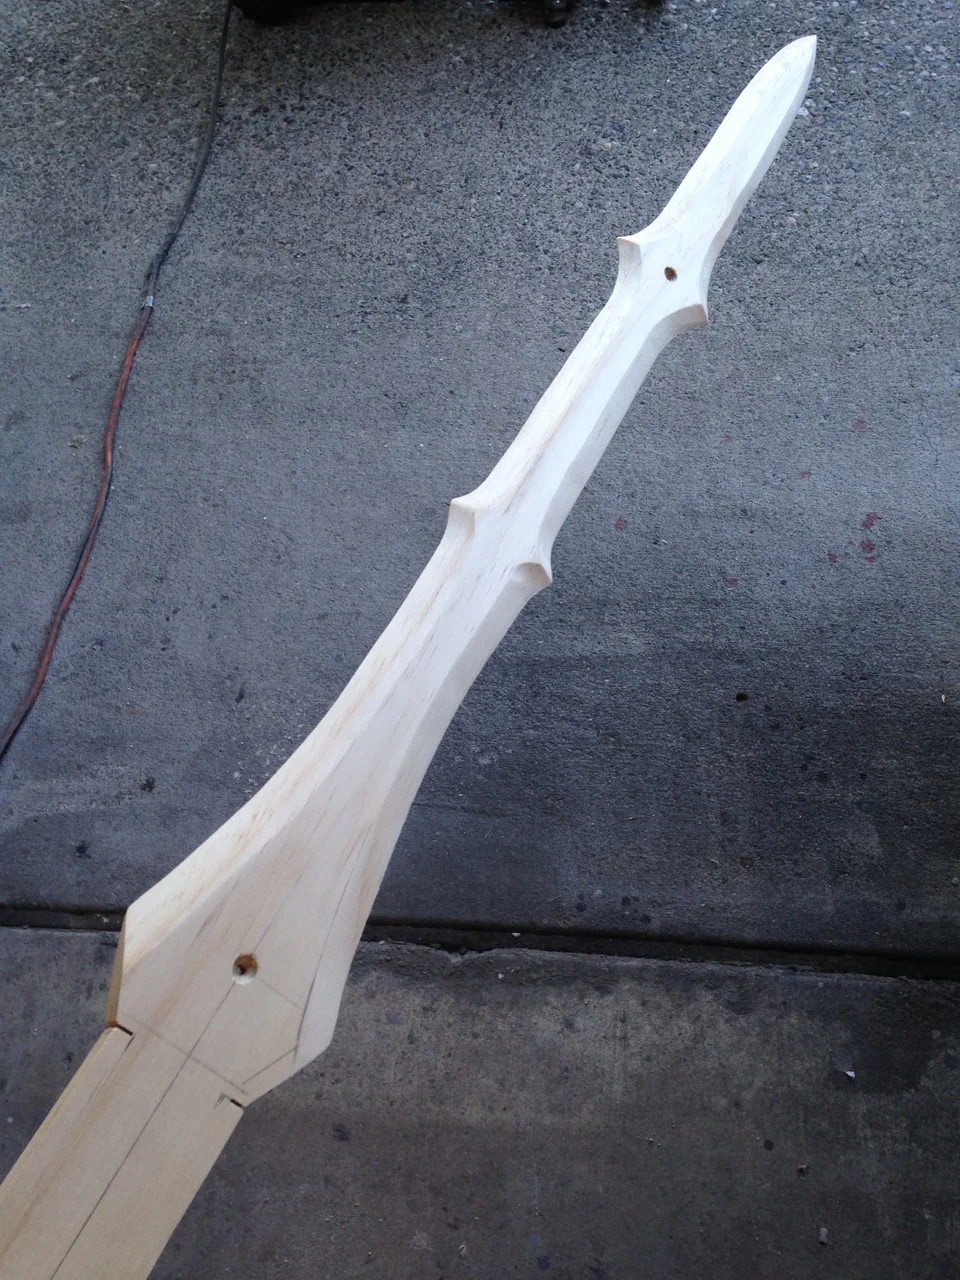
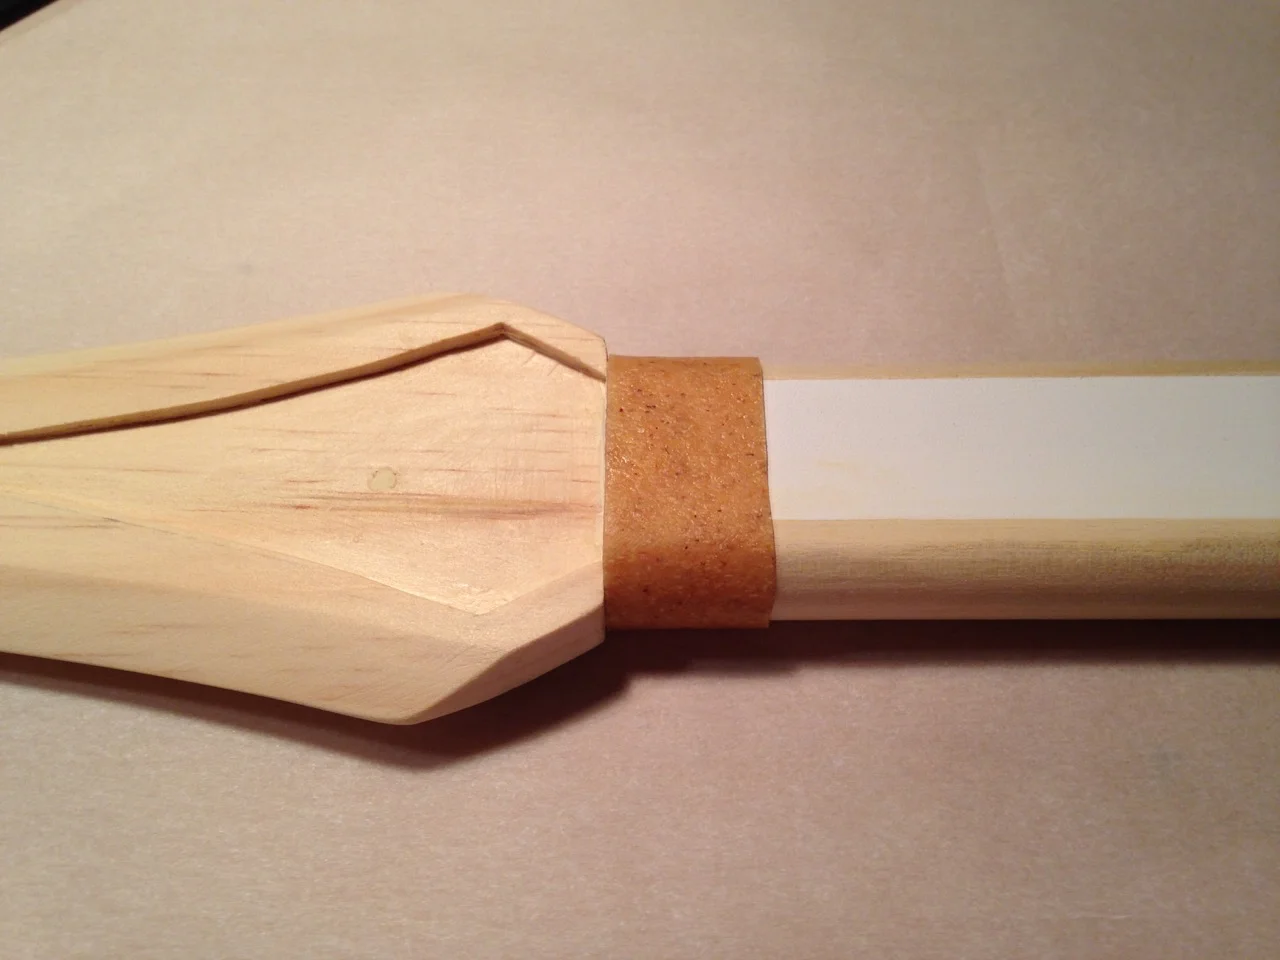
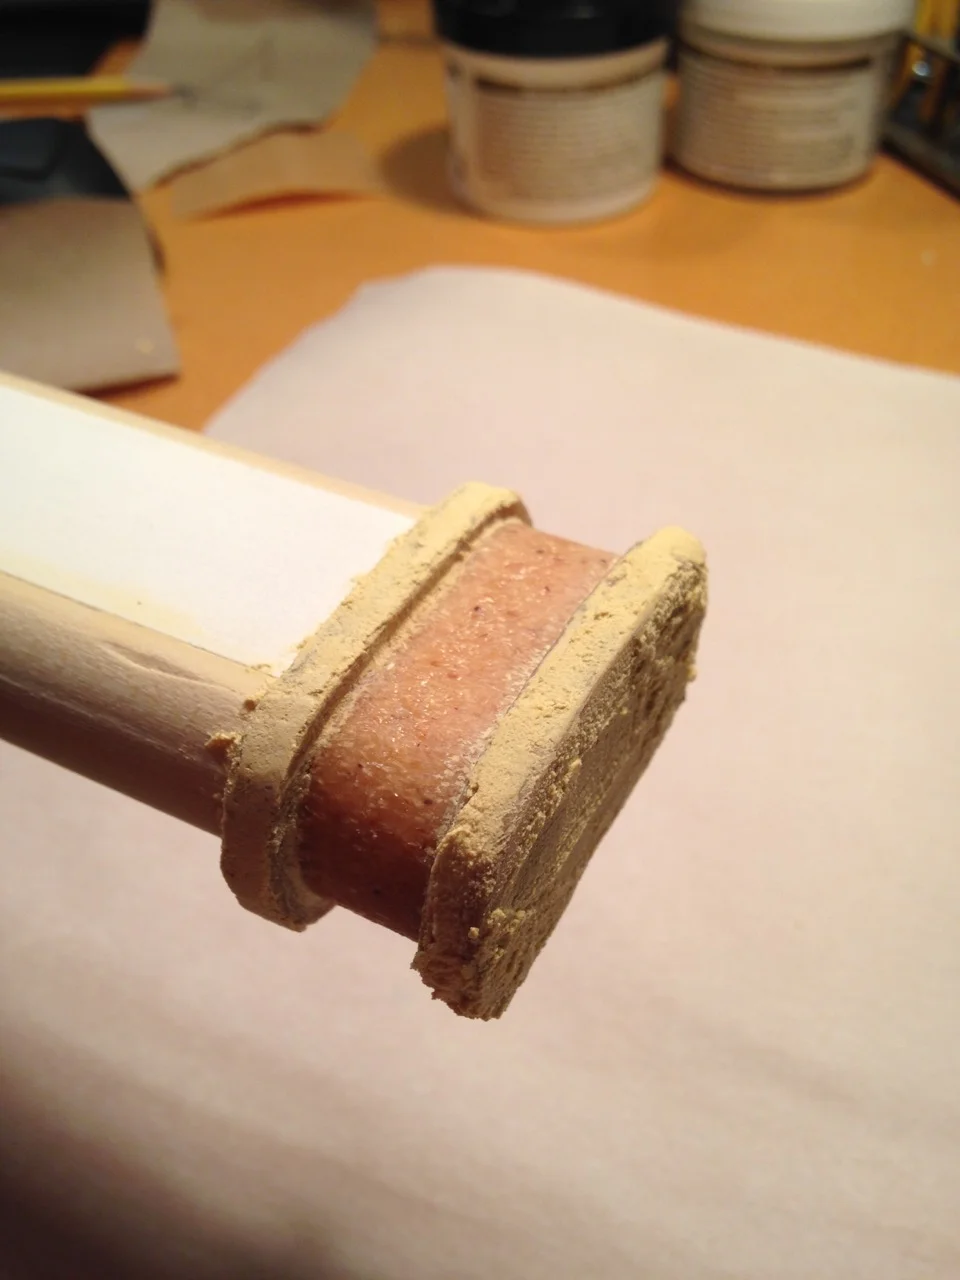
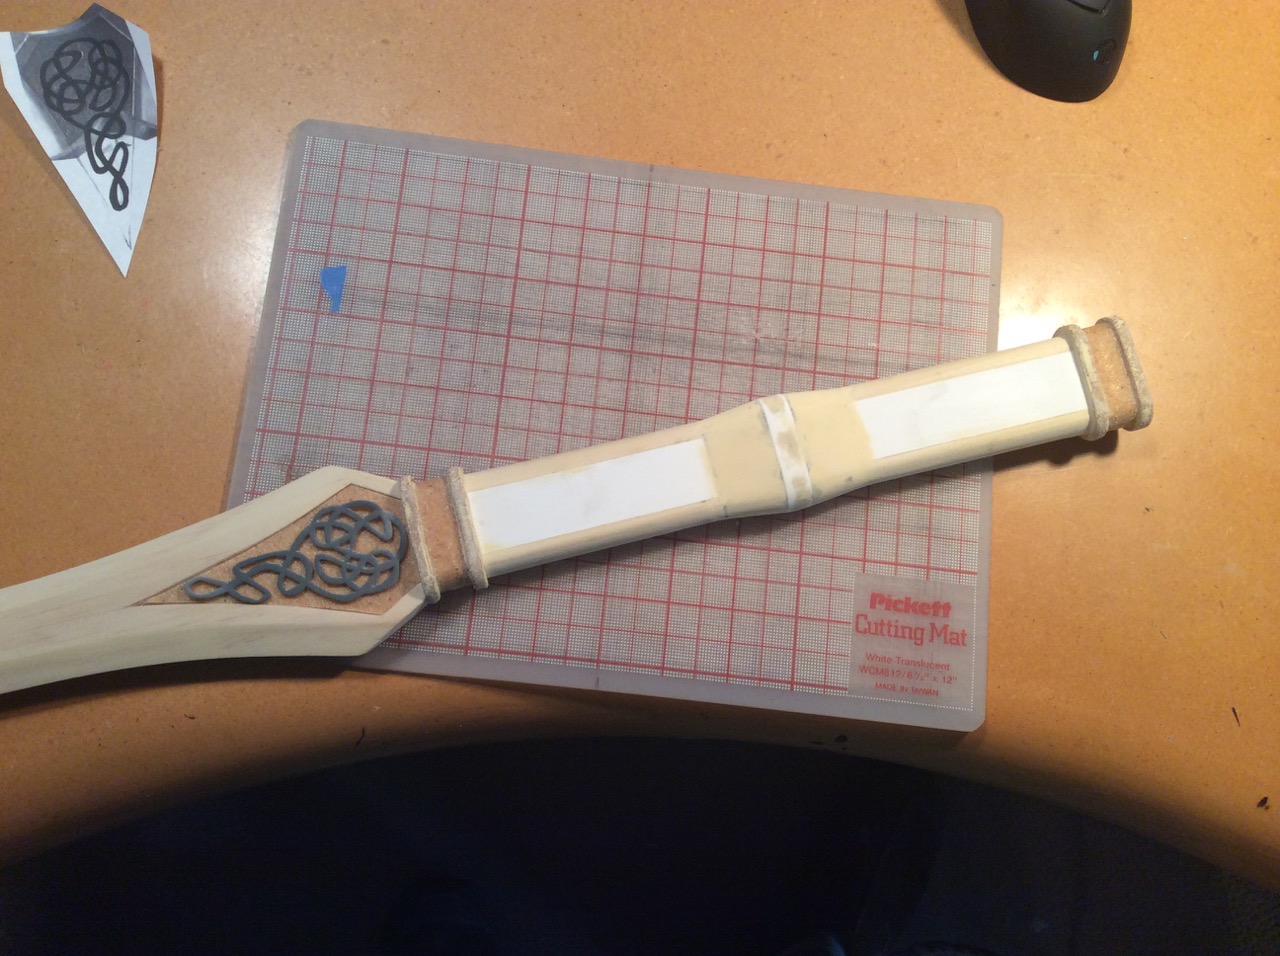
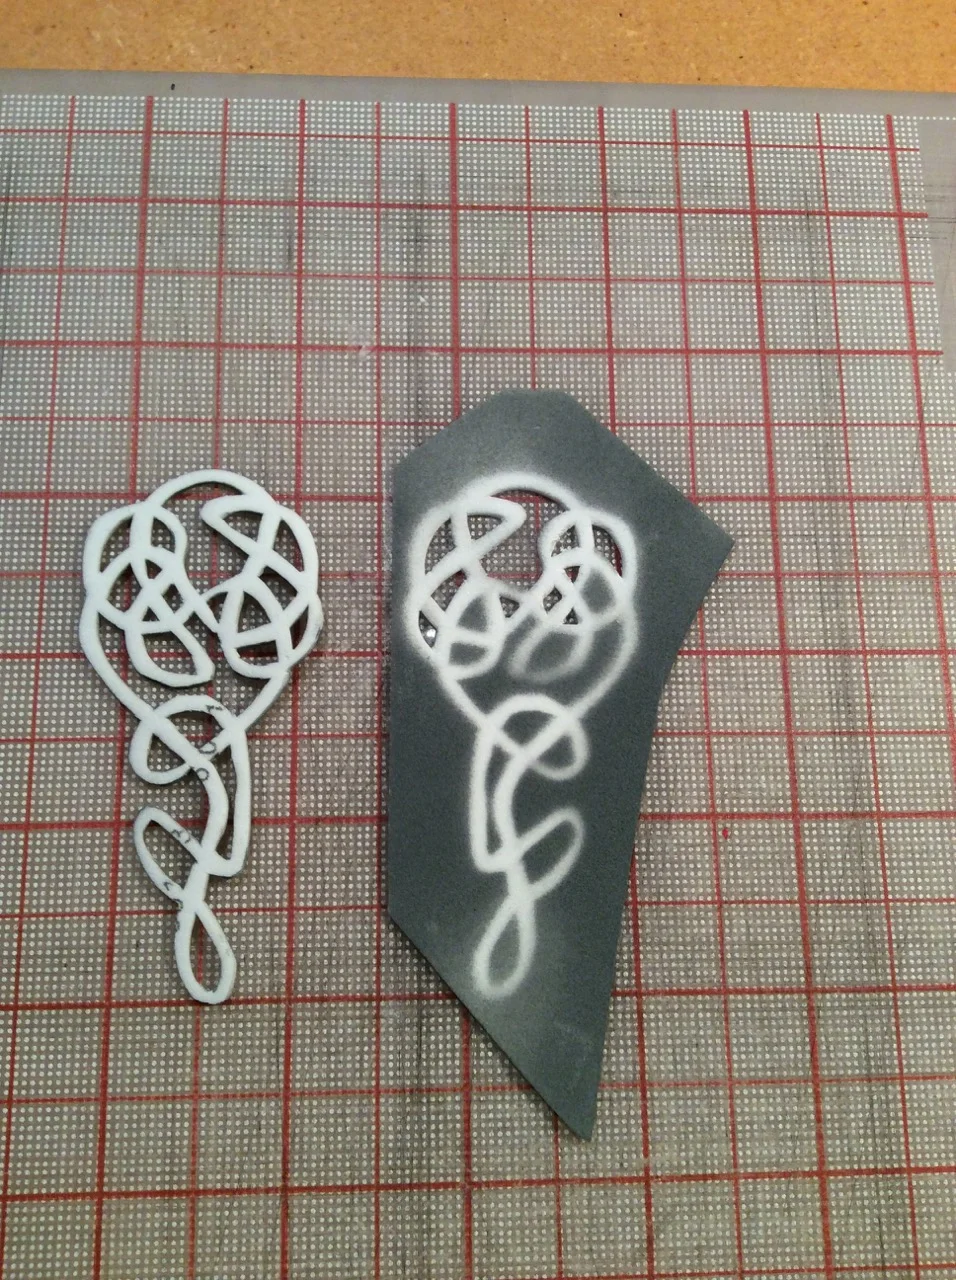
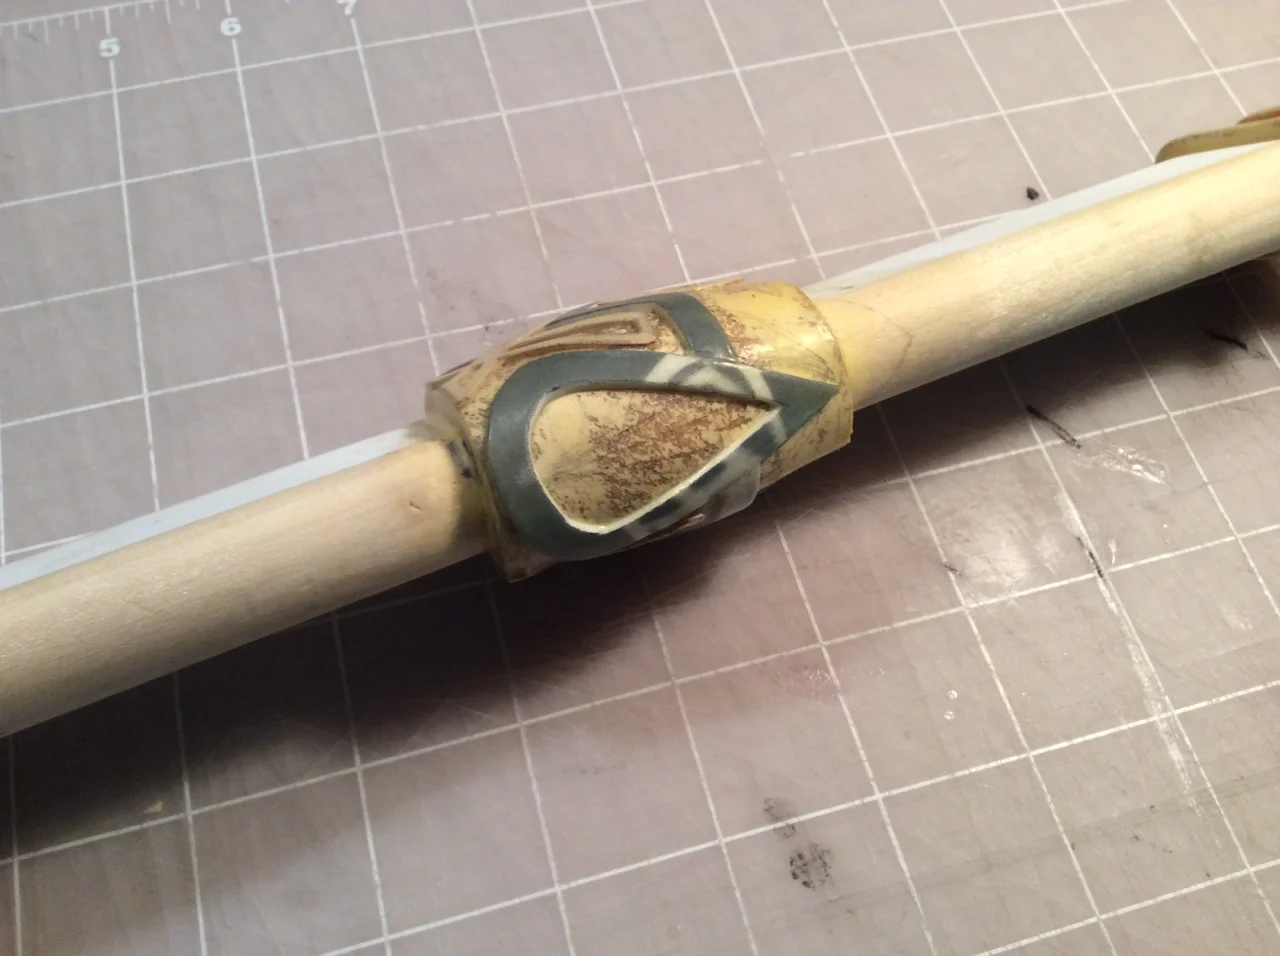
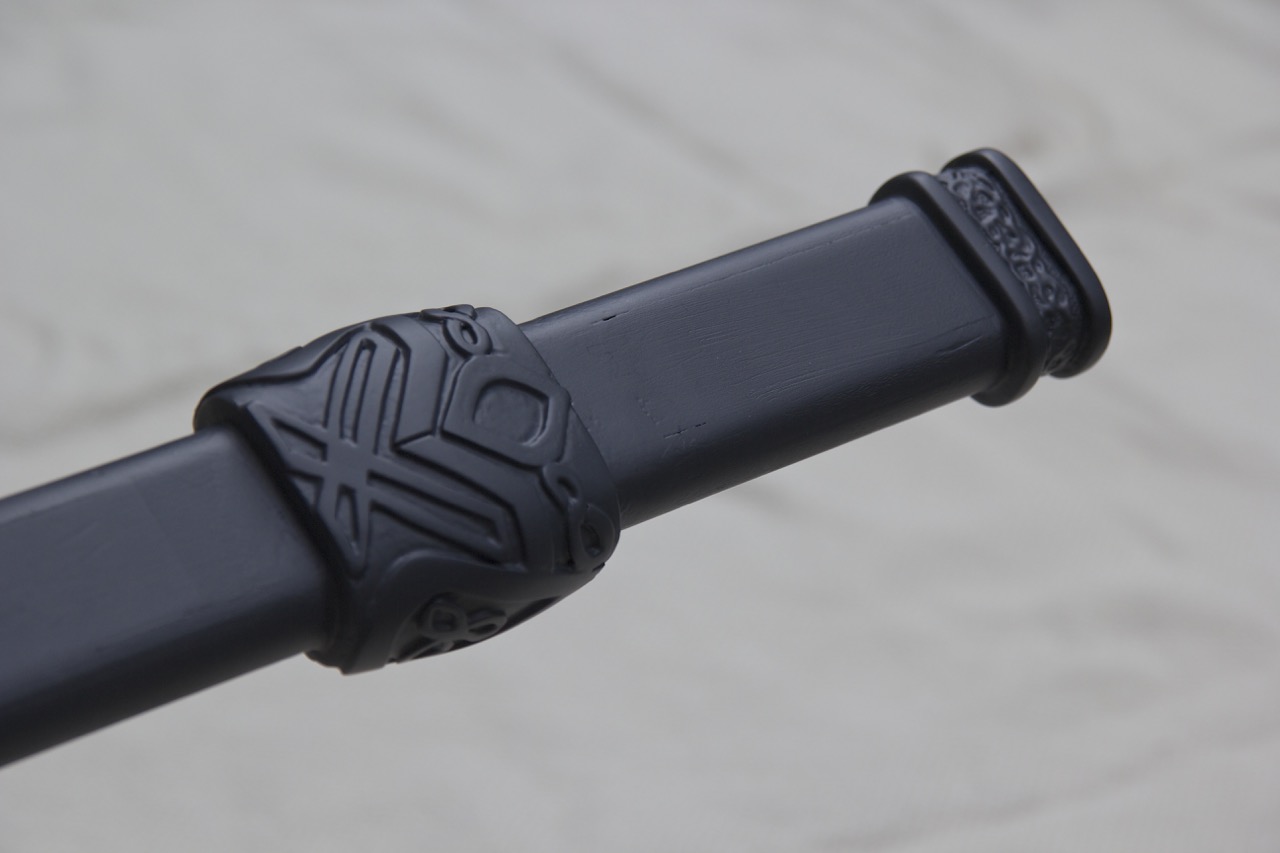
The following is the photo progression (with annotations) of the Lady Sif Sword build. Creation of the main body of the sword relies heavily on woodworking. The woodworking tools I used include a tablesaw, router table and oscillating belt sander. All of the embellishments were created with more readily available crafting materials including craft foam, Worbla, Sintra (PVC foam), Elmer's wood filler.

Work In Progress (WIP) Gallery:

View fullsize  Best flat, full sword reference shot I could find. I outlined one half in Illustrator.
View fullsize  Outline half copied and duplicated.
View fullsize  Both halves put together, tweaked and scaled to full size.
View fullsize  Printed full size pattern. The X’s help line the sheets up.
View fullsize  Select Pine has low grain, is light weight and easy to carve but still quite strong.
View fullsize  Pattern transfer.
View fullsize  Thickness cut down the from 3/4″ to 1/2″. I later decided that 1/2′ was too chunky and cut it down to 3/8″. I used my table saw. A planer would be optimal but i don’t have one.
View fullsize  Rough cut with handheld saber saw.
View fullsize  Deciding where the blade edge will be.
View fullsize  Using vellum to copy blade edge line.
View fullsize  Transferring blade edge line for uniformity.
View fullsize  Edge line guides.
View fullsize  Using straight bit router on router table to make a blank which is necessary for routing the second edge.
View fullsize  A perfect matching copy.
View fullsize  The main body (left) the blank (right).
View fullsize  1st side edge already routed with 45 degree chamfer bit. The blank is necessary to route the second edge. (The bearing on the router bit needs and edge to glide against.)
View fullsize  The 45 degree bit was not enough of an angle. I had to take it down another 15 degrees using my bench belt sander. I did this freehand which was quite nerve wracking.
View fullsize  After belt sanding the last 15 degrees. Not too bad for free-hand but a few minor imperfections.
View fullsize  Cleaning up those imperfections with wood filler.
View fullsize  All hand sanded to final shape.
View fullsize  Close up of hand sanded details .
View fullsize  Outline of recess for inset blade details.
View fullsize  Carving recess. I start by outlining the shape with an Xacto knife, then cutting a bunch of striations.
View fullsize  Clean out with sharp wood chisel.
View fullsize  Cleaned up with flat bottomed dremel grinder.Cleaned up with flat bottomed dremel grinder.
View fullsize  Cleaned up with flat bottomed dremel grinder.
View fullsize  Round over for the handle edges. (Other builds I’ve seen use a round handle. I found this reference pic which clearly shows that is is more oblong.)
View fullsize  Round over glued up. The white piece is 1/8″ Sintra I used to flush out the handle to the edges.
View fullsize  Main body complete. Details next.
View fullsize  Base of first collar (hilt?) made from Worbla. I used Worbla because the collar background has a rough texture. So Worbla seemed like it would proved the right texture.
View fullsize  Edges of the collar made from rolled Worba then flattened with a tool for a more squared look.
View fullsize  The pommel using the same technique.
View fullsize  The edges of the collar need to be smooth. Step one of smoothing Worbla: wood filler skim coat.
View fullsize  After sanding the wood filler. I finished off smoothing the collars with several coats of watered down wood glue.
View fullsize  This sword has a secondary (centered on the handle) pommel/hilt. The actual prop has a removable dagger in the second half. This build does not incorporate the dagger. The middle hilt tapers down in both directions. I bulked up the middle with 1/8 S
View fullsize  Center pommel tapered with wood filler.
View fullsize  Step one of the center pommel sanded.
View fullsize  Step 2: The center pommel need to be thicker so I beefed it up with 3mm craft foam. I had to use strips because of the taper. I then smoothed it out and filled in the gaps with wood filler (sorry forgot to take a pic).
View fullsize  Step 3: To strengthen the center pommel I covered it in Worbla. I again smoothed the Worbla with wood filler and wood glue.
View fullsize  Figuring out the blade detail with a screenshot. The bottom portion was not visible in any close-up screen shots I could find. My daughter helped me come up with this.
View fullsize  One side of the blade detail hand cut with an Xacto knife, out of 1mm craft foam. To easily transfer the pattern I used the first as a stencil and spray painted over it.
View fullsize  Hand cutting the smaller blade detail. This one is impossible to see in reference photos so I designed this (sometimes you have to just make thing up.)
View fullsize  Both small blade details cut.
View fullsize  I used Worbla for the background of the blade inset. Again for its rough texture quality. The scroll detail is adhered with spray glue (Super 77).
View fullsize  Center pommel details. These are a mixture of 1/32″ plywood and 1mm craft foam. Primed with wood glue.
View fullsize  Added more details (the brownish colored ones.) Primed with wood glue.
View fullsize  Mostly finished at my work space.
View fullsize  I primed the scroll details with several coats of spray primer (before gluing on) then gave t several coats of spray shellac.
View fullsize  Center pommel with shellac.
View fullsize  Build complete and ready for the first step of painting: primer.
View fullsize  In primer. I hadn’t figured out the inset scroll details on the handles yet so I masked them off. (That’s why they’re not painted).
View fullsize  Almost done.
View fullsize  I sanded and shellaced the scroll indentations until they were as smooth as possible.
View fullsize  After attempting several materials and techniques to realize the intricate collar scrolling this is what I decided on. It is done with an acrylic paint pen. It seemed a bit flat so I made a second pass with the acrylic.
View fullsize  Collar scroll detail after second acrylic coat and final primer.
View fullsize  Original wood master in primer.
  • Click here to see the final sword gallery

In Prop Tags Wood, Worbla, Sif
← Working With Worbla: Groot Sprout SculptureWorking With Worbla: King Loki Build – Staff / Scepter Progression →