Intro and Blueprinting
Due to the complex nature of this sword I decided the best way to create it was mostly through sculpting. I've been wanting to sculpt more so this was a great opportunity to do so. Before I could begin sculpting I needed an actual size blueprint to work from.
Omega Yato as wielded by Corrin in the game Fire Emblem.
I started by creating a line-art blueprint. I couldn't find a good straight on reference photo to trace over so I found 3 or 4 shots of different parts of the sword at the correct angle. I then stitched those parts together, in Photoshop, to create this photo.
Photo-stitch for line art refrence.
I imported the image above in Illustrator and traced it to create the blueprint below.
Sword blueprint line-art.
One of the nice things about creating a blueprint in a vector based program, like Illustrator, is it makes for easy scaling to size. Based on comparison to other swords I've built and the height of my commissioner, I decided to scale it 43" long. Once scaled I printed out the blueprint at full size by tiling it on my home printer.
I decided it would be easiest to sculpt the handle assembly in three parts: pommel, handle and hilt. Instead of sculpting those parts as 360 pieces I chose to sculpt them one sided then duplicate that side with molding and casting. Once the casts were made I would sandwich them together and assemble.
Sculpting The Pommel and Hilt
I haven't done a lot of sculpting so I chose to go with Apoxie Sculpt, which is a material I've worked with before. The main advantage to Apoxie Sculpt is it cures rock hard and can be finessed by sanding/shaping. Since I'm not that experienced with sculpting being able to clean up my work with sanding was appealing.
To prepare for sculpting, I printed out the three parts of the blueprint for the handle assembly, wrapped them in shrink-wrap, then spray glued them down to 1/4' MDF squares for a perfect flat surface. The reason for the shrink wrap is to protect the surface of the print from water. Water is used to smooth Apoxie Sculpt while sculpting. (I don't have a photo of these alone prior to starting the sculpting.)
First photo of the project with about half of the Pommel roughed out.
I sculpted directly on top of the pattern to keep everything symmetrical. To bulk up the middle section where the pommel mates to the handle, I cut a section of 1" PVC pipe in half and superglued it down to the board.
The full Pommel laid out with the rings started.
Adding the rings was fairly difficult. Each ring point had to be aligned perfectly to mirror the location of the other side for when the casts would be sandwiched together. I used a mircometer/caliper to carefully measure the location of each protrusion. At some point I decided the size of the rings were too large (above) so I sanded them down to a smaller size.
For the Crossbars I added 3mm craft foam to bulk them out while making sure there was clearance for the Apoxie Scupt from the edge to the pattern line.
Blocking out the rough base for the Hilt. White craftfoam added here to bulk up the crossbrs. The Black material is also Apoxie Sculpt.
I created the Hilt base, waited for the Apoxie Sculpt to cure over night, sanded it to shape, then added more of the detailing. It would be quite difficult to build it all up on one shot, so creating in stages is a good way to go.
The Hilt base after sanding.
With a little bit of force the Apoxie Sculpt will release from the shrink wrap. It's much easier to sand the piece independent from the board. It took a lot of patience to get both sides of this center section even. I usually start with 80 grit then move to 120 depending on the amount I need to remove. Eventually I'll move to needle files to get corners and edges precise as possible.
More detailing added and inconsistencies filled with filler.
You can only smooth so much and eventually you'll find areas that need filling. Along the way I fill with Bondo Glazing and Spot Putty. It's made for shallow filling and smooths things out nicely and sands almost too well.
Same piece after more refinement with sanding.
As you can see after sanding the filler there's not much of it remaining. This shows well the little areas that needed filler on order to smooth out nicely.
Comparison of sculpt progress to refrence photo.
As I'm working I continually compare the in progress sculpt to my reference photos. Here you can see I added the Crossbars over the foam.
Another angle of the Crossbars attached.
Planning out placement the rings.
As I mentioned earlier, it was essential to get the placement and the size of the rings even. I decided the best way to go about this was to create the rings on one side first. I shaped them then was able to make a pattern to follow for the placement and shape on the opposite side. This method worked quite well.
The final sculpt of the Hilt.
Handle Shaping
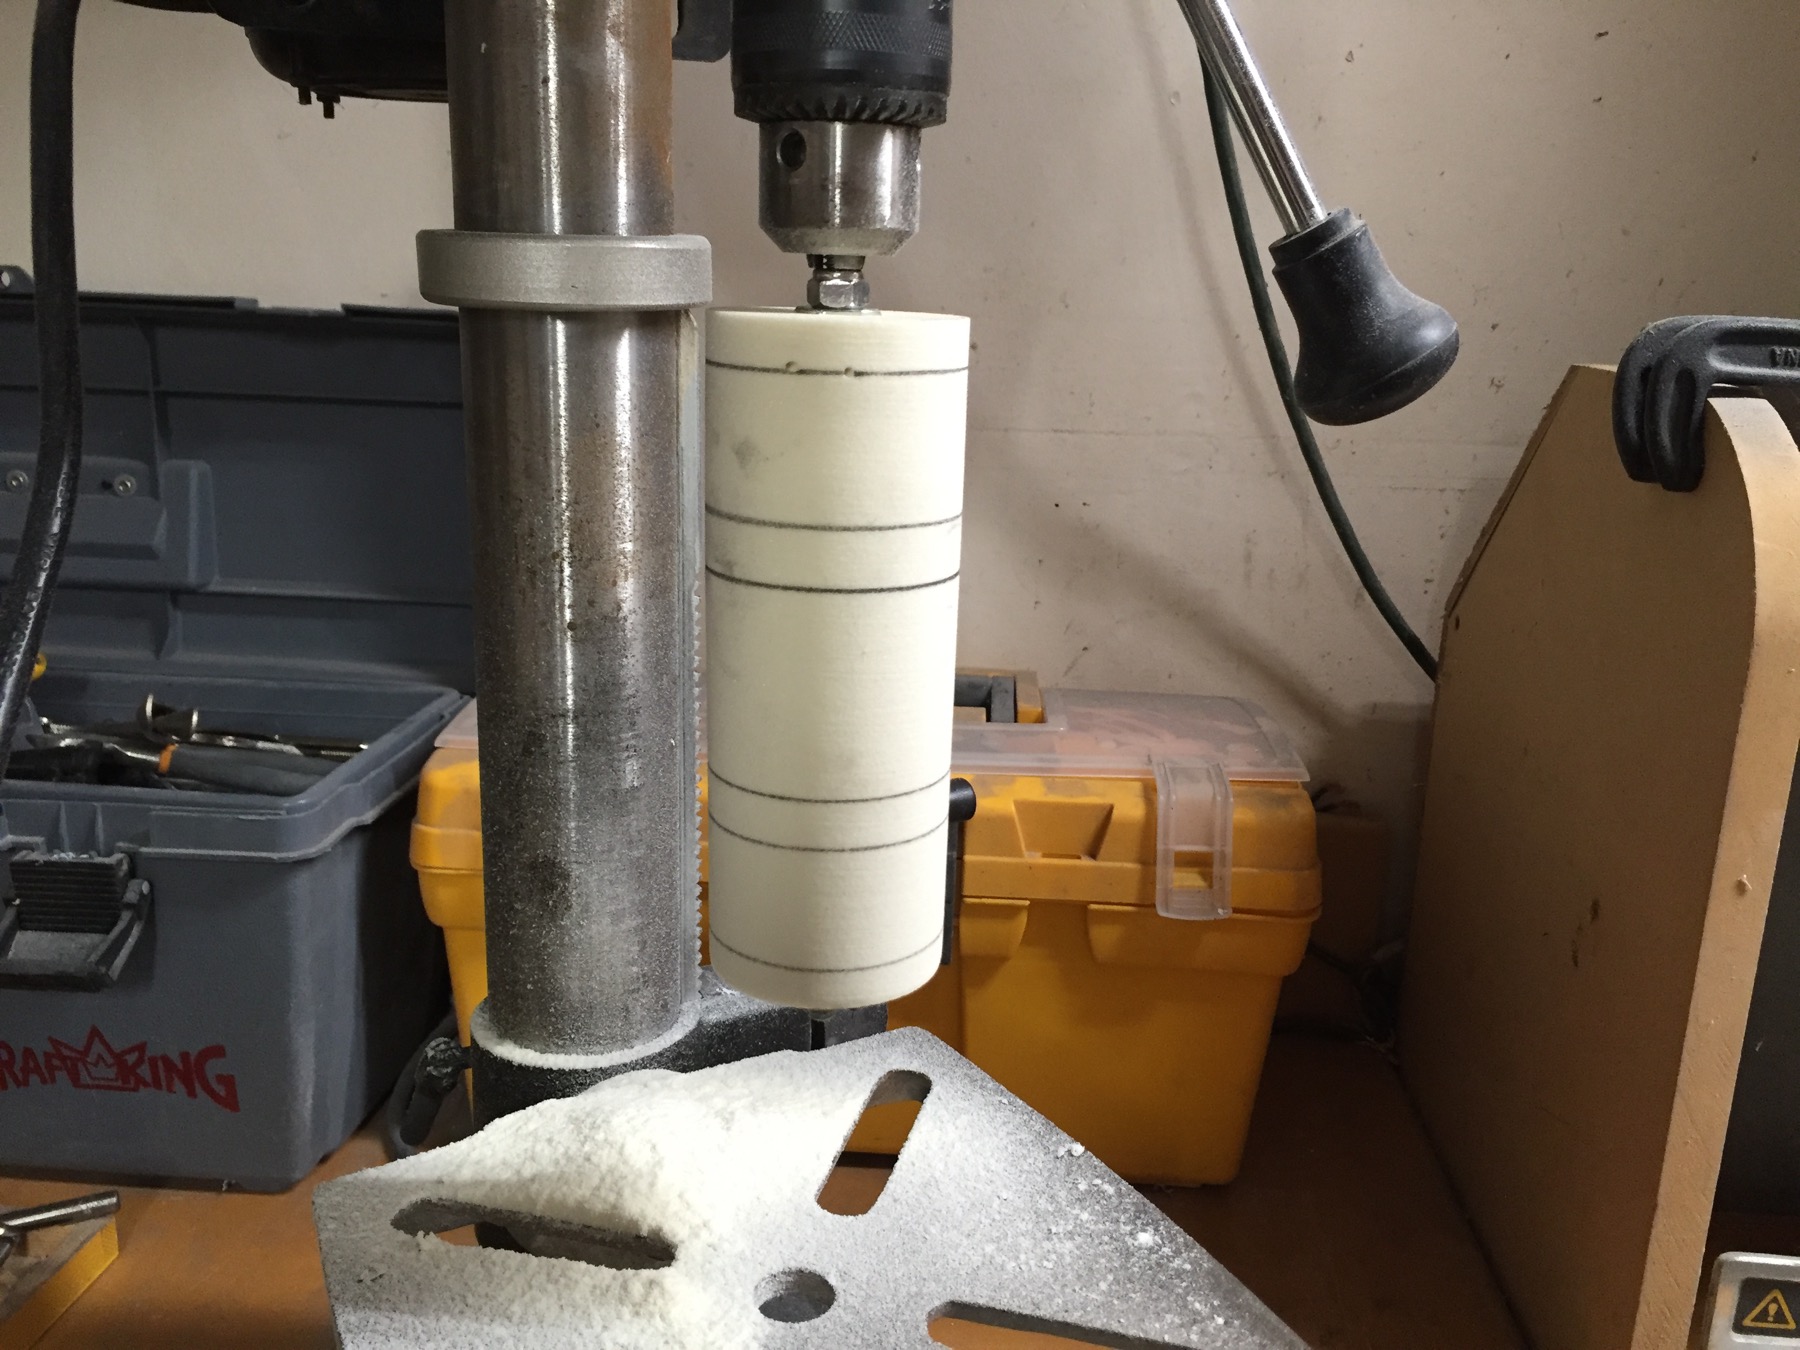
I knew it would be difficult to create the circular shapes of the handle by sculpting it. I decided it would be best create the handle in 360 in some other medium. This posed a challenge since I do not own a turning lathe. I considered many options, including wrapping various layers of foam around a PVC pipe and shaping those with a sander. I finally settled on attempting to turn the correct shape using my drill press.
While searching my shop for a suitable material I found scrap piece of tooling foam that had been given to me. The foam was lower density so it sands out easily. I decided if I could run a section of all-thread rod though the center of it and tighten it down with nuts on either end, it would probably be stable enough for turning. Much to my surprise it worked!
The cylinder marked for shaping.
I cut the foam into a long rectangle then shape it into a cylinder. I added lines at each joint for the shapes.
Initial shaping of the handle.
I used a file and sandpaper to get the initial recesses shaped out. I frequently checked the sizing to my blueprint using calipers to get the correct dimensions.
The fully shaped handle.
I mostly used sandpaper to achieve the shaping. The one ring looks different because I originally made it a little to narrow. I added Apoxie Sculpt to bulk it out then reshaped it from there. The Apoxie Sculpt is quite a bit more dense than the foam. It took much longer and was difficult to shape this way.
This particular tooling foam is somewhat porous. I decided to seal/primer and wet-sand it prior to adding all of the detailing. I first sealed it with several coats of spray on Shellac, then I hit it with several coats of primer. I wetsanded it to 400 grit.
Handle after sealing and wetsanding.
All three sections in mid process of sculpting, prior to cutting the handle.
I utilized several different methods for all of the handle detailing. (I unfortunately neglected to take photos of each step of the detailing.) So what you see below is the final step before primer. The upper raised V's are made from black Worbla. The center area is a mixture of carving into the tooling foam for the recessed lines and creating the raised center ring and diamonds from Apoxie Sculpt. The lower area had tapered thin half-round lines. Instead of attempting to create these perfectly for each line, out of Worbla or Apoxie Sculpt, I decided to use toothpicks. The toothpicks had a similar taper and they were already uniform in size. I glued down each section individually then used filler to blend each seam together. It worked quite well.
Of note here: I purposely only completed all of the detailing on one half side of the handle. I planned to also mold one side of the handle only then cast two copies and sandwich them together (just like the Pommel and Hilt). My choice to do so eliminated the need to repeat the intricate and tedious work of adding all of the details around the full handle. It did however add to the complexity. Each section of detail needed to be very exact so the two halves would match up. It also meant that I would eventually need to cut the handle in half lengthwise in order to be able to cast it as a one part mold. Yikes!
Handle after all the detailing has been added and prepped for primer.
As mentioned above I needed to cut the handle in half in order to duplicate it as a one part mold. I used a scroll saw leaving a little bit of extra material, then I sanded it into the correct size using a belt sander. This was a nerve-wracking process considering all of the time I had spent shaping the handle and adding all of the detailing. It was basically a one shot deal and had I messed it up I would have had to recreate it all again. Fortunately it worked out perfectly. The photo below is a little out of order as I forgot to take a photo of the halved handle prior to spraying it with primer.
Handle after being cut in half.
Testing the fit of all of the parts together.
Primer Application In Prep for Molding
Once I had all of the sections created, I prepped them by cleaning up any imperfections with putty (as seen above). I once again sanded each section, this time with 360 grit, preparing them for primer application.
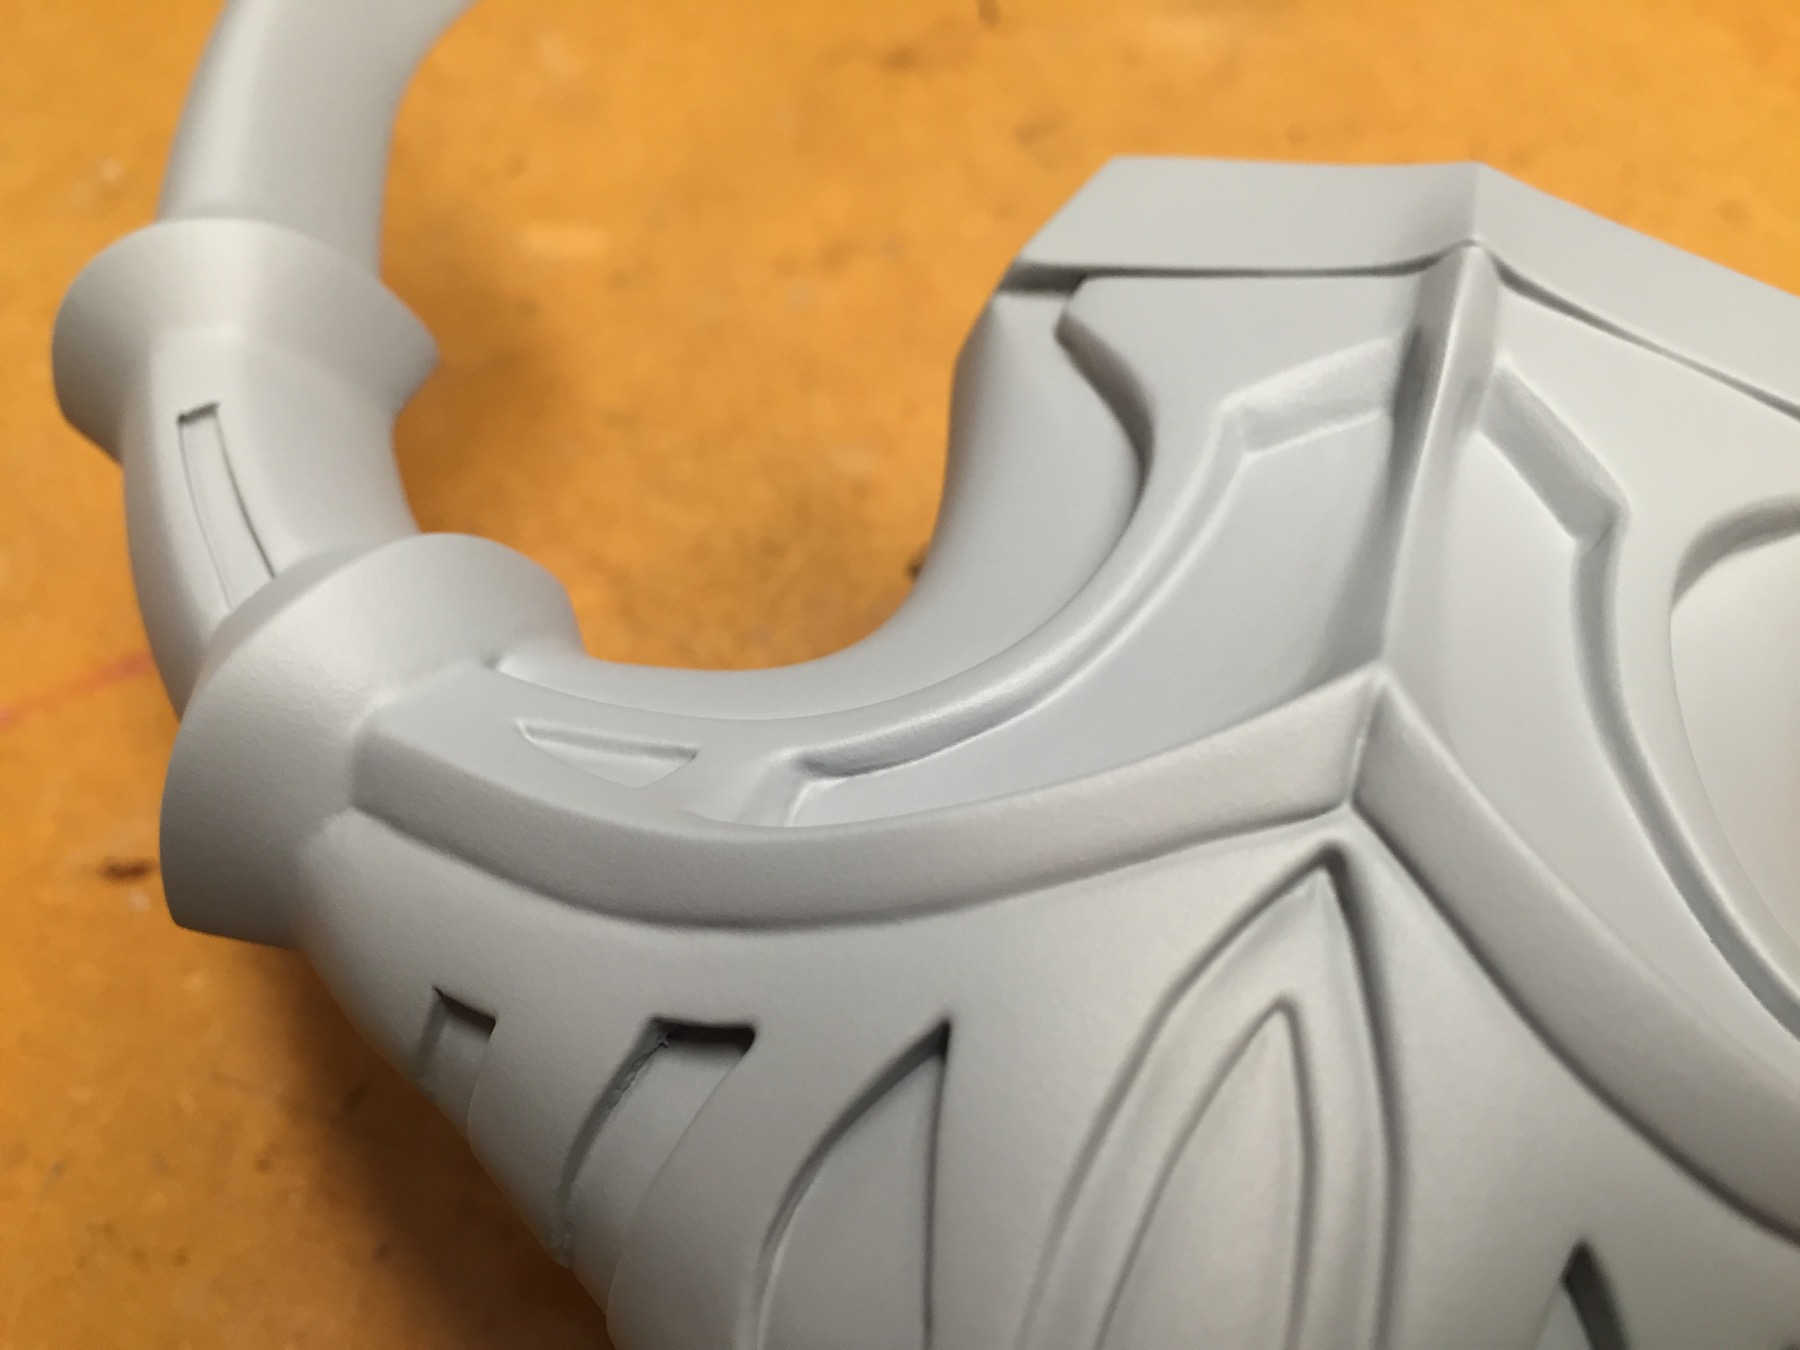
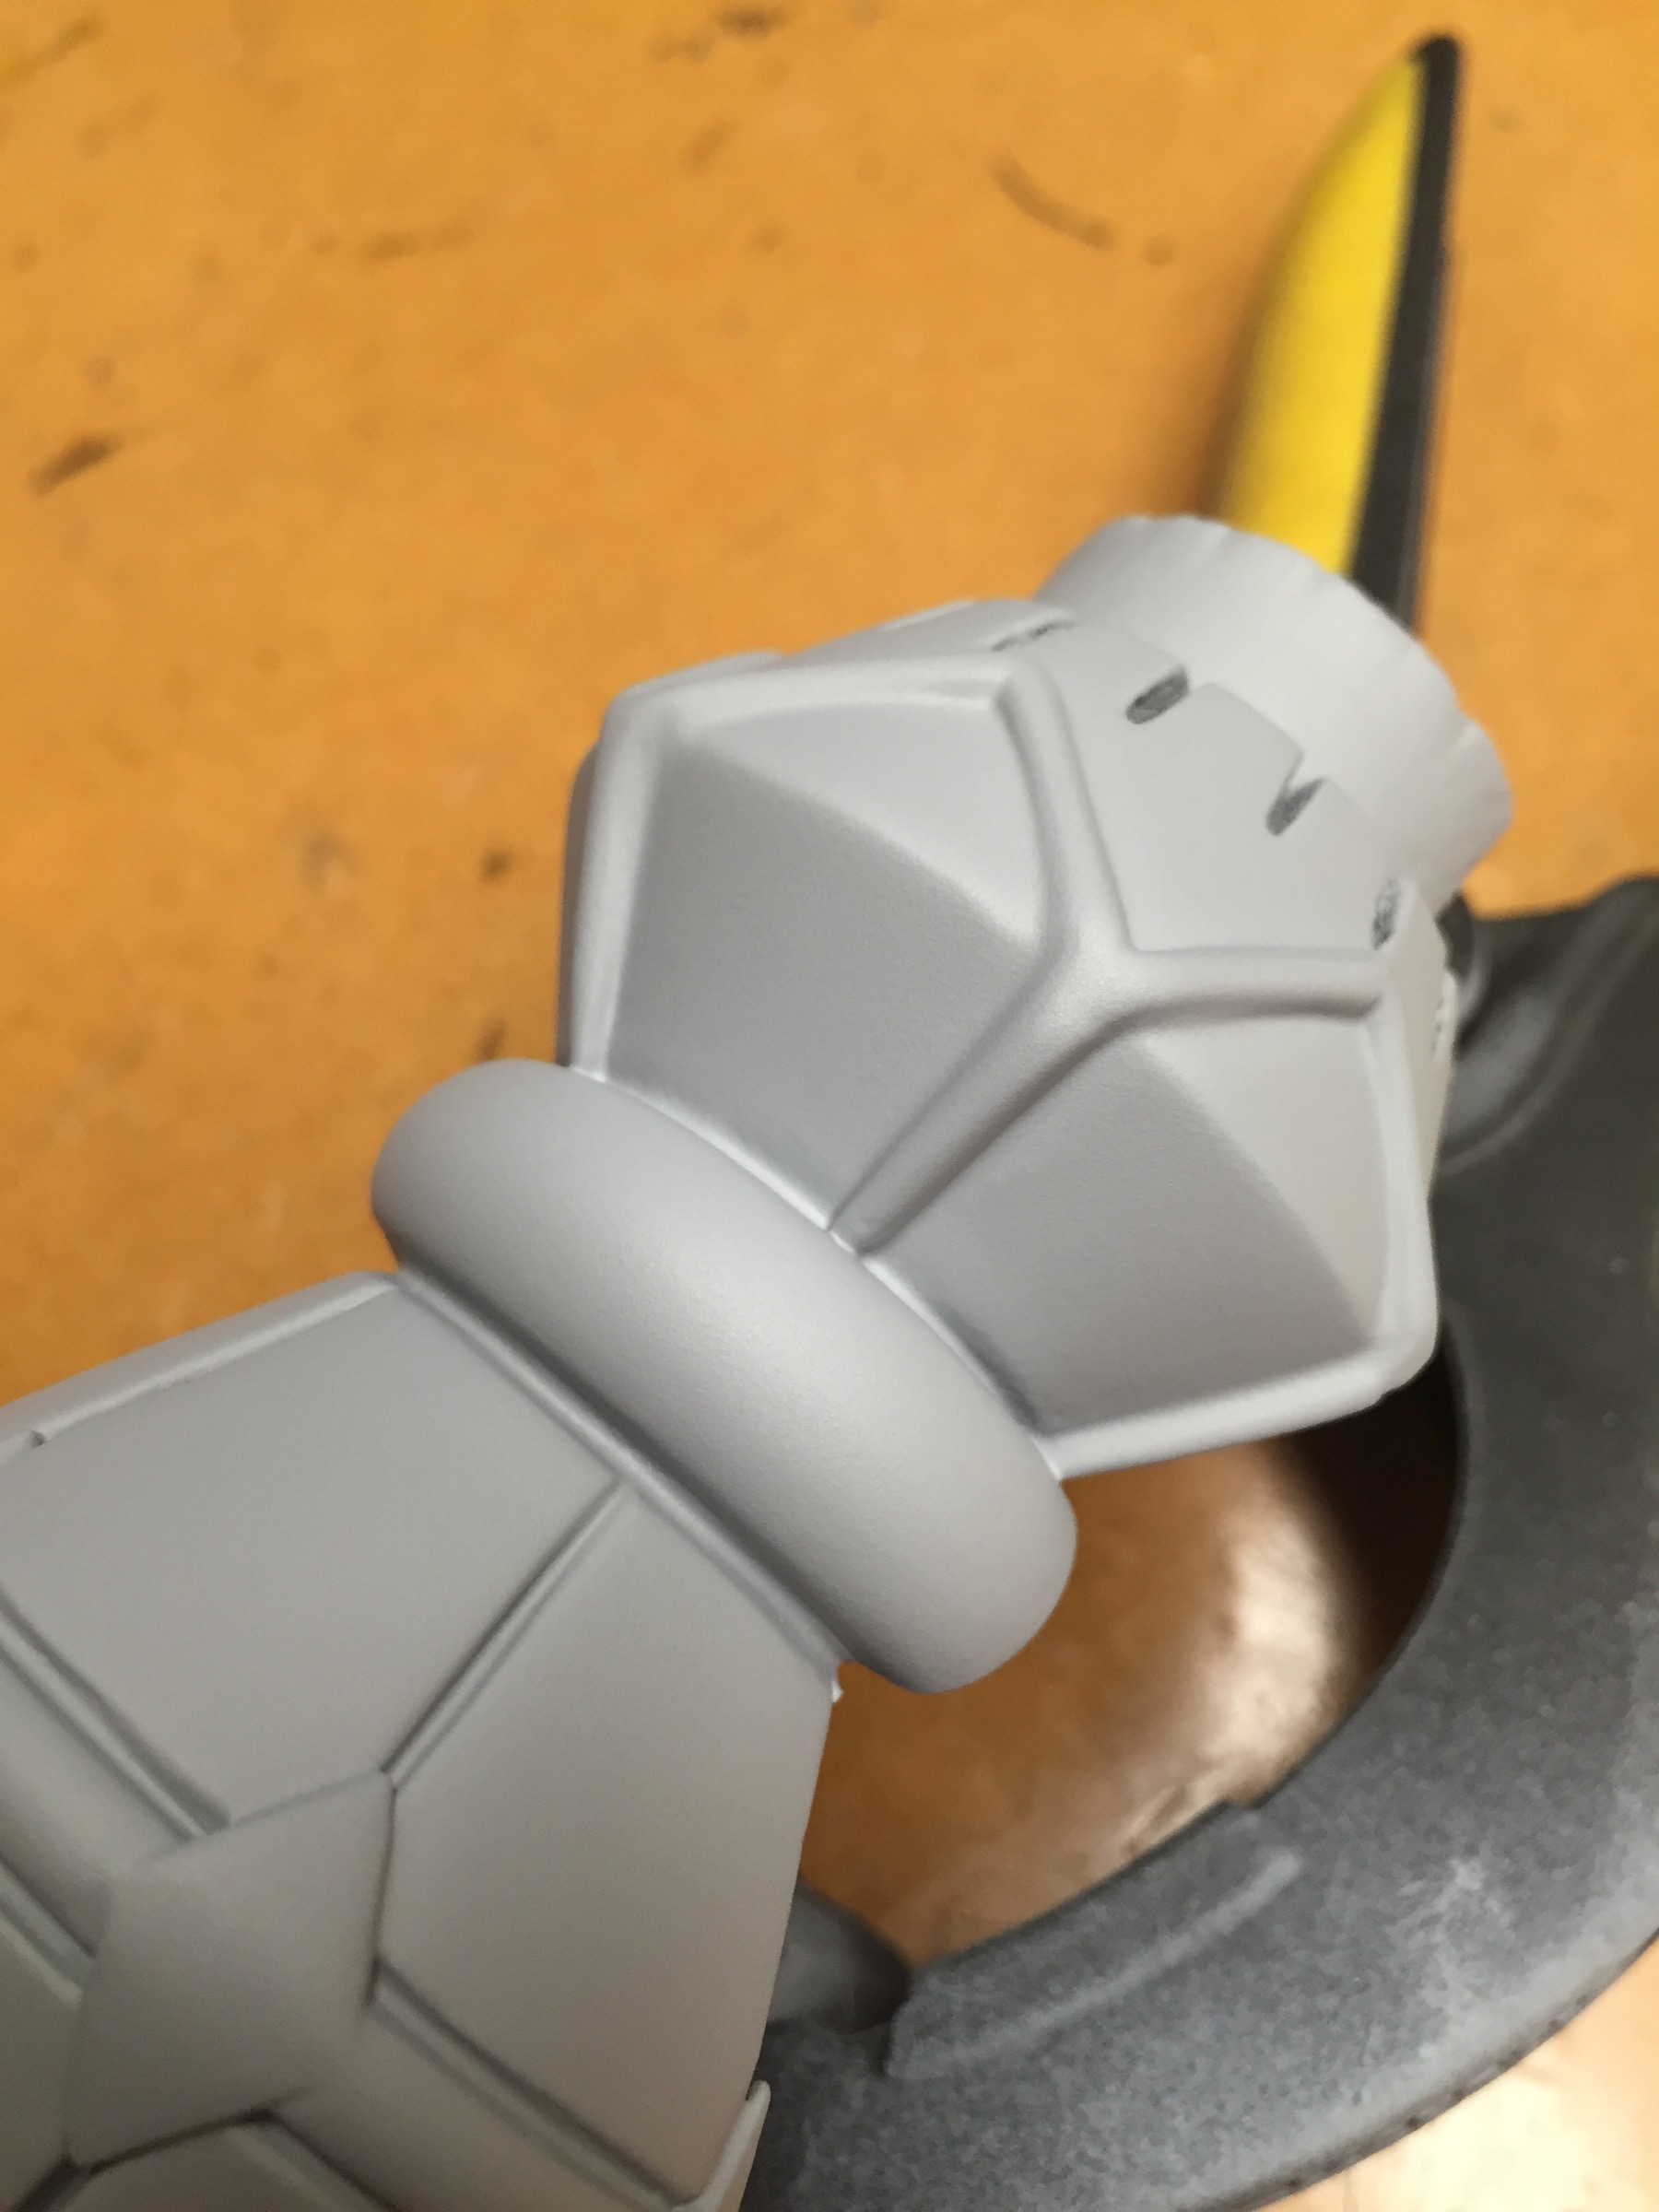
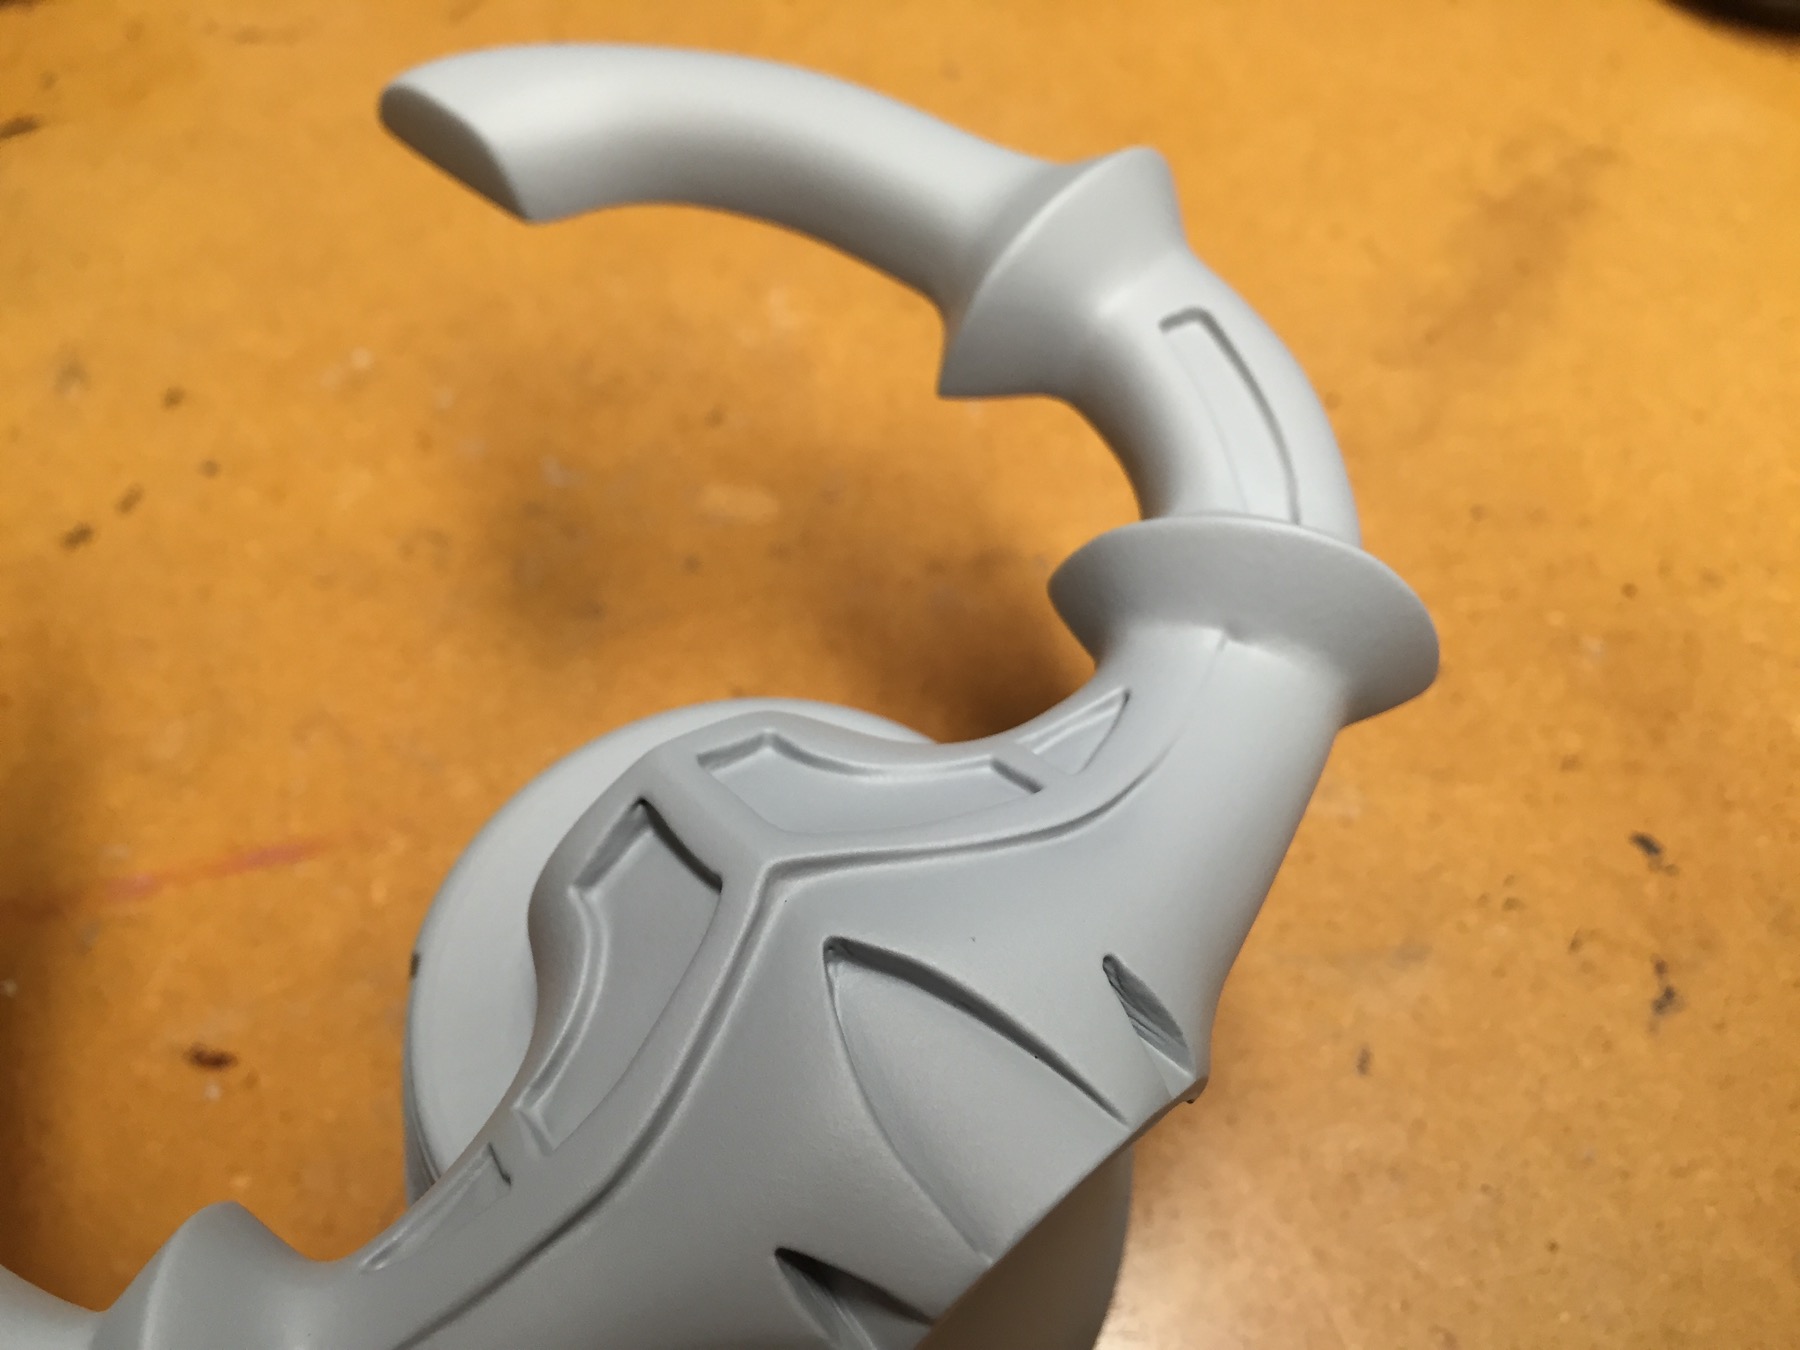
My first primer application was with filler primer. I prefer Duplicolor Automotive Series Filler Primer . I like to start with filler primer as it gives a high build and helps cleanup any further imperfections. Below are close up shots of each part after filler primer was applied.
For the next sanding pass I switched to wetsanding and wetsanded each part again this time with 400 grit. After that I cleaned up any further imperfections with putty and, sanded those areas again then applied a coat of regular primer (below, it's a draker colored grey). My choice for primer at this stage is Duplicolor Automotive Series Sandable Primer. This particular primer sprays very smooth as it has a fine tip. Lightly heating the can in warm water also helps it spray even better.
Each part after final primer application and wetsanding to 600 grit.
For the final sanding pass I wetsanded again this time with 600 grit. I stopped at 600 as I felt it was sufficient smooth enough for the masters to be molded in. I applied another wetcoat of the Duplicolor primer. At this stage some question wether to reapply primer after the final sanding or not. I prefer to as I feel it further cleans up any possible imperfections left behind. Okay all ready for molding!
Moulding and Casting the Hilt, Handle and Pommel
I created a one-part silicone mold for each section. I neglected to take any photos of the the mold process. If you're interested in learning about one part molds I highly suggest watching this video by my friends over at Punished Props. The link starts at a spot showing a very similar looking mold which I created for this project.
Mold boxes created with foamcore and hotglue. These are from another project, shown for Illustrative purposes only.
I usually create my mold boxes from foamcore and hotglue each section together (above). For the actual mold I created them using Smoothon Mold Max 14NV. I chose this particular silicone because it cures quickly and does not require vacuum degassing (since I don't own a vacuum chamber yet).
Once the silicone was cured the moldbox can be removed then you end up with rubber a mold like these.
One-part molds of the Hilt, Handle and Pommel.
With the molds done I poured two resin copies of each mold in Smooth-Cast 300 from Smoothon. For casting setup I prefer to brush the silicone mould with baby or talcum powder, it leaves a less glossy finished than using something like mold release and you don't have to wash the cast pieces. Once the resin was setup I de-molded the casts and had these six parts altogether.
Two copy casts of the originally sculpted pieces.
I prepped the half casts by carefully sanding down the back sides with my stationary belt sander in order to make the back surfaces flush and flat. It was particularly important to remove just the right amount of extra material for the pieces to line up correctly without any gaping. I then used 5-min. Epoxy to adhere the halves together to create three solid pieces.
My sculpted edges lines were exact enough and the detailing lined up very well. Forutnately there were only a couple of spots I had to fix but those were very minimal. I was pleased with the outcome, I don't know what I would have done otherwise. Since I was joining two halves together there was still a bit of a line to fill which I filled with spot putty. I neglected to take photos of this process so the next photo is the after shot of what I expalined above.
The Hilt, Handle and Pommel after being epoxied together and filled.
From there I cored out the handle and worked out using an aluminum pipe for strength to run through the full assembly. Due to the weight of the blade I didn't want to rely on epoxy alone to hold the handle unit together. Once I got the fit right I used 5 minute epoxy to assemble the complete unit. Each part was epoxied at the joints and to the inner aluminum core.
Drilled out center of crossguard to accommodate the aluminum pipe.
I added an aluminum pipe through the complete unit to add strength.
I continued with further clean-up (aka sanding) and priming to complete the process of making six induvidul parts look like one whole piece.
The complete handle unit/assembly after several passes of sanding and primer.
If you made it this far, thank you for checking out this build. Part Two will cover fitment, creating the blade, lighting and finish.
**Coming sometime in 2017.**
