Shaping the Sides
Before bending the side panels I milled each down to the size of 2mm thick by 110mm wide with an overall length of 812mm (about 32”).
As I mentioned previously in Part 1 , there are several different ways you can bend wood. I opted for the steam and mold method.
The process is fairly simple, you steam the wood in a steam-box then clamp it onto a mold and wait for the wood to dry. The wood then retains the shape of the mold.
My first attempt went well, initially. I soaked the panel in water for approximately 20 minutes then steamed it for 25 minutes. When I clamped the panel on the mold it bent easily and all seemed good (#1 and #2). I left it to dry in the mold overnight.
When I removed the bent panel from the mold it retained the shape. Unfortunately, I immediately noticed a significant amount of perpendicular cupping and warpage, especially in the tightest curved portions near the waist of the curve (no photo).
Second Bending Attempt
After looking into the process of wood bending more, I decided the warping was probably caused by at least two factors.
The irregular grain pattern of the Birdseye Maple is unstable and more prone to non-uniform warpage.
The wood was too wet and did not dry out quickly enough.
There was nothing I could do to address the first factor (other than use a different species).
As for the second factor I made several changes.
Decided not to pre-soak the wood.
Perforated the mold surface, to allow moisture an easier way to escape (#3).
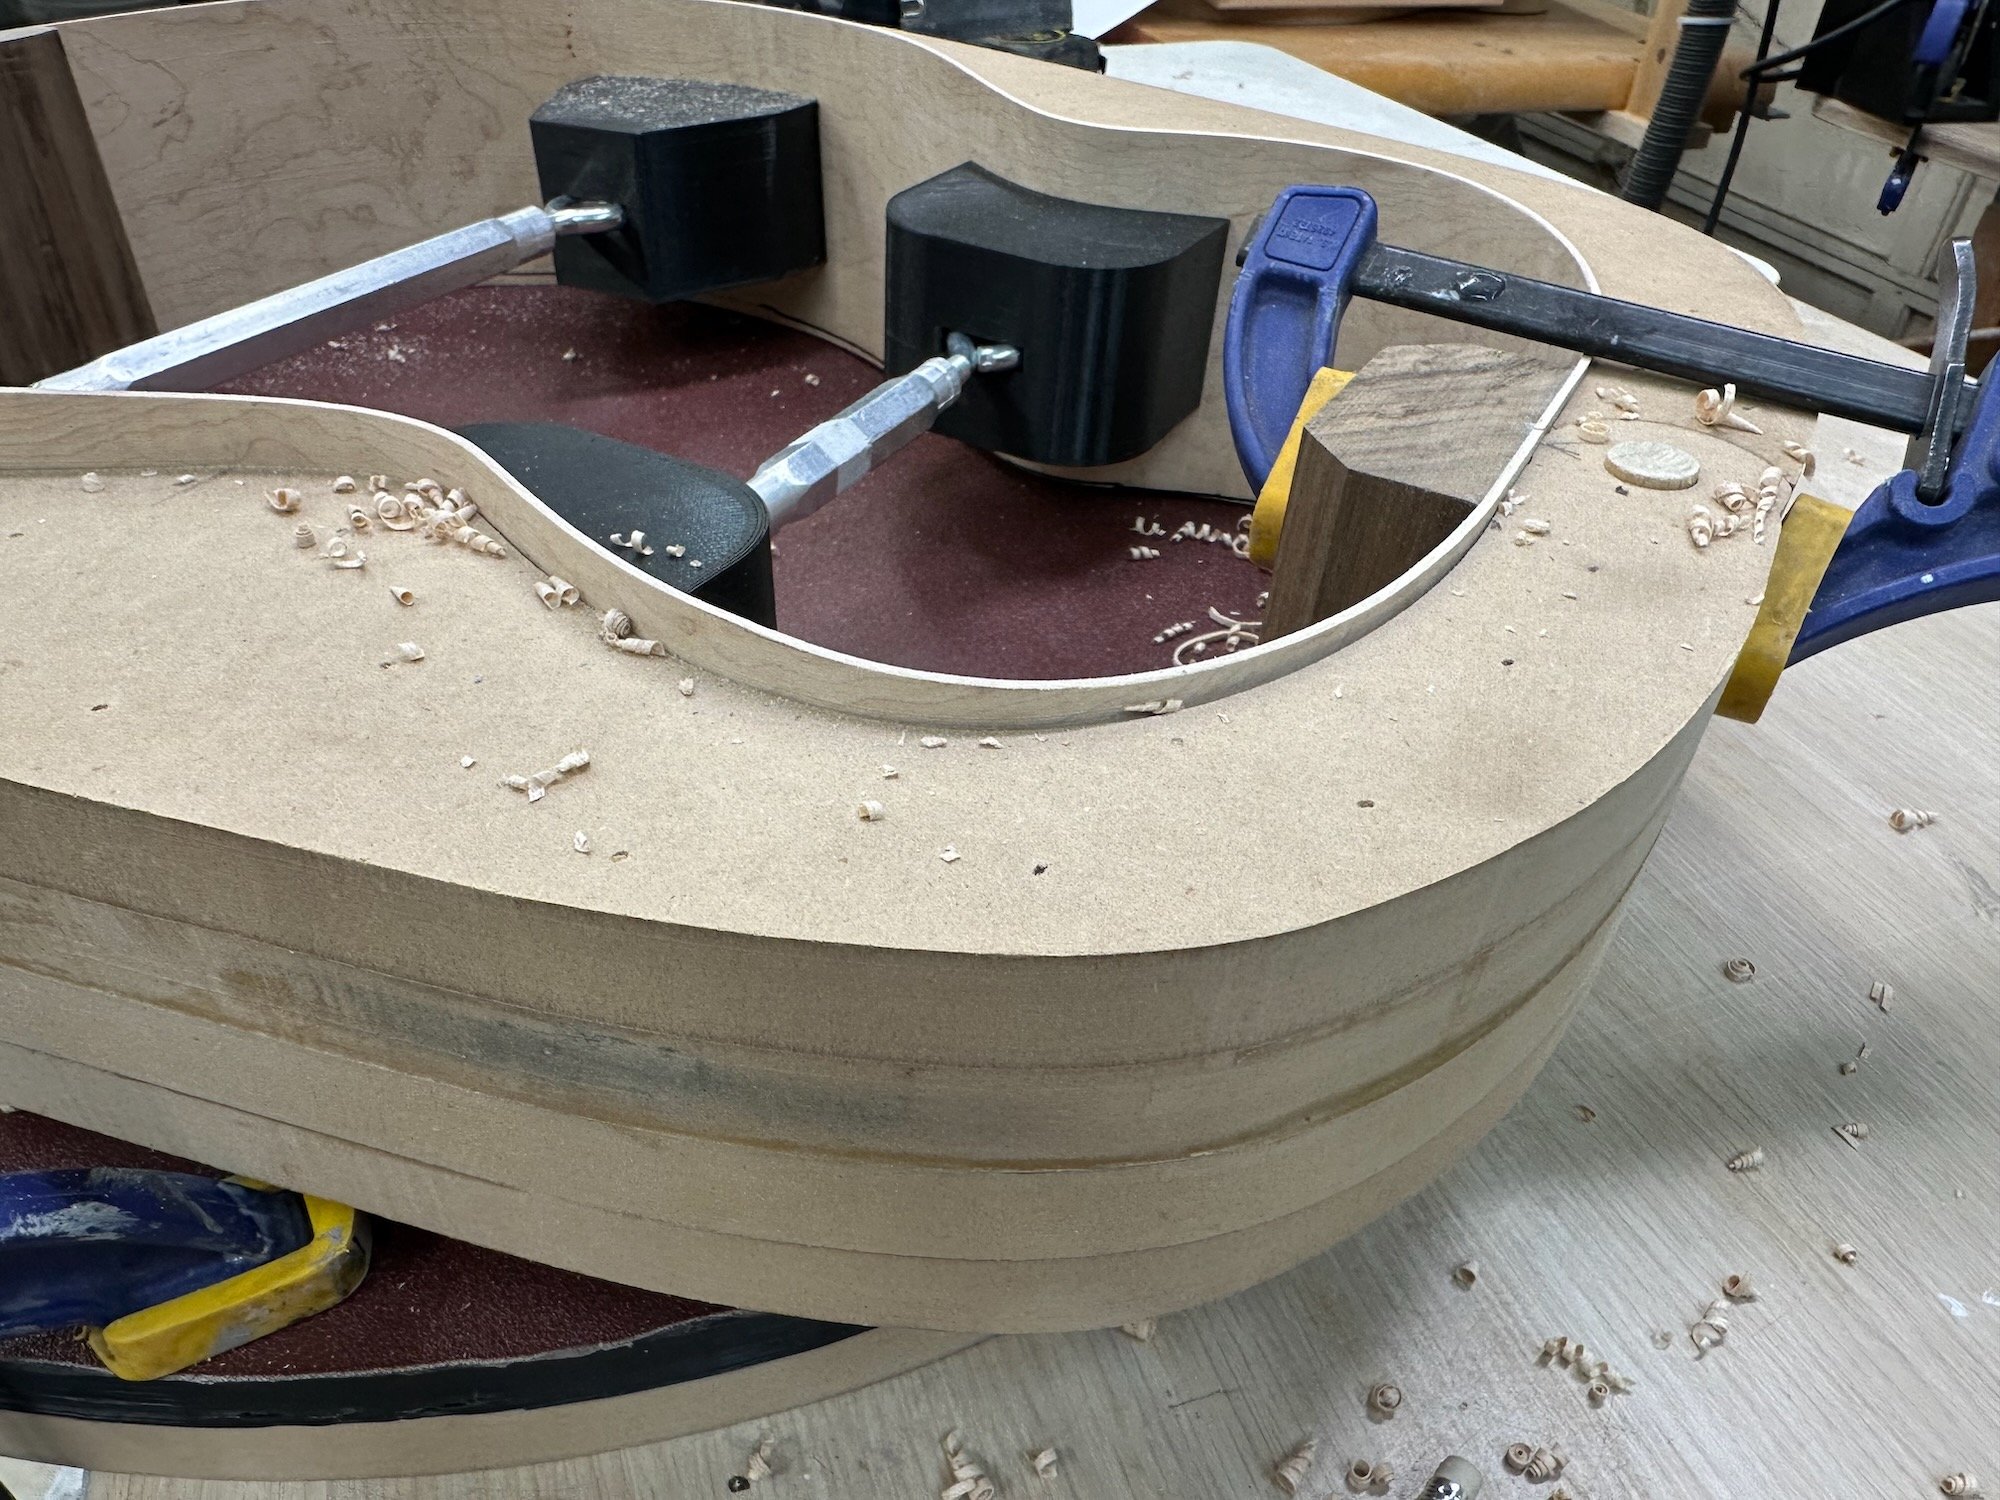
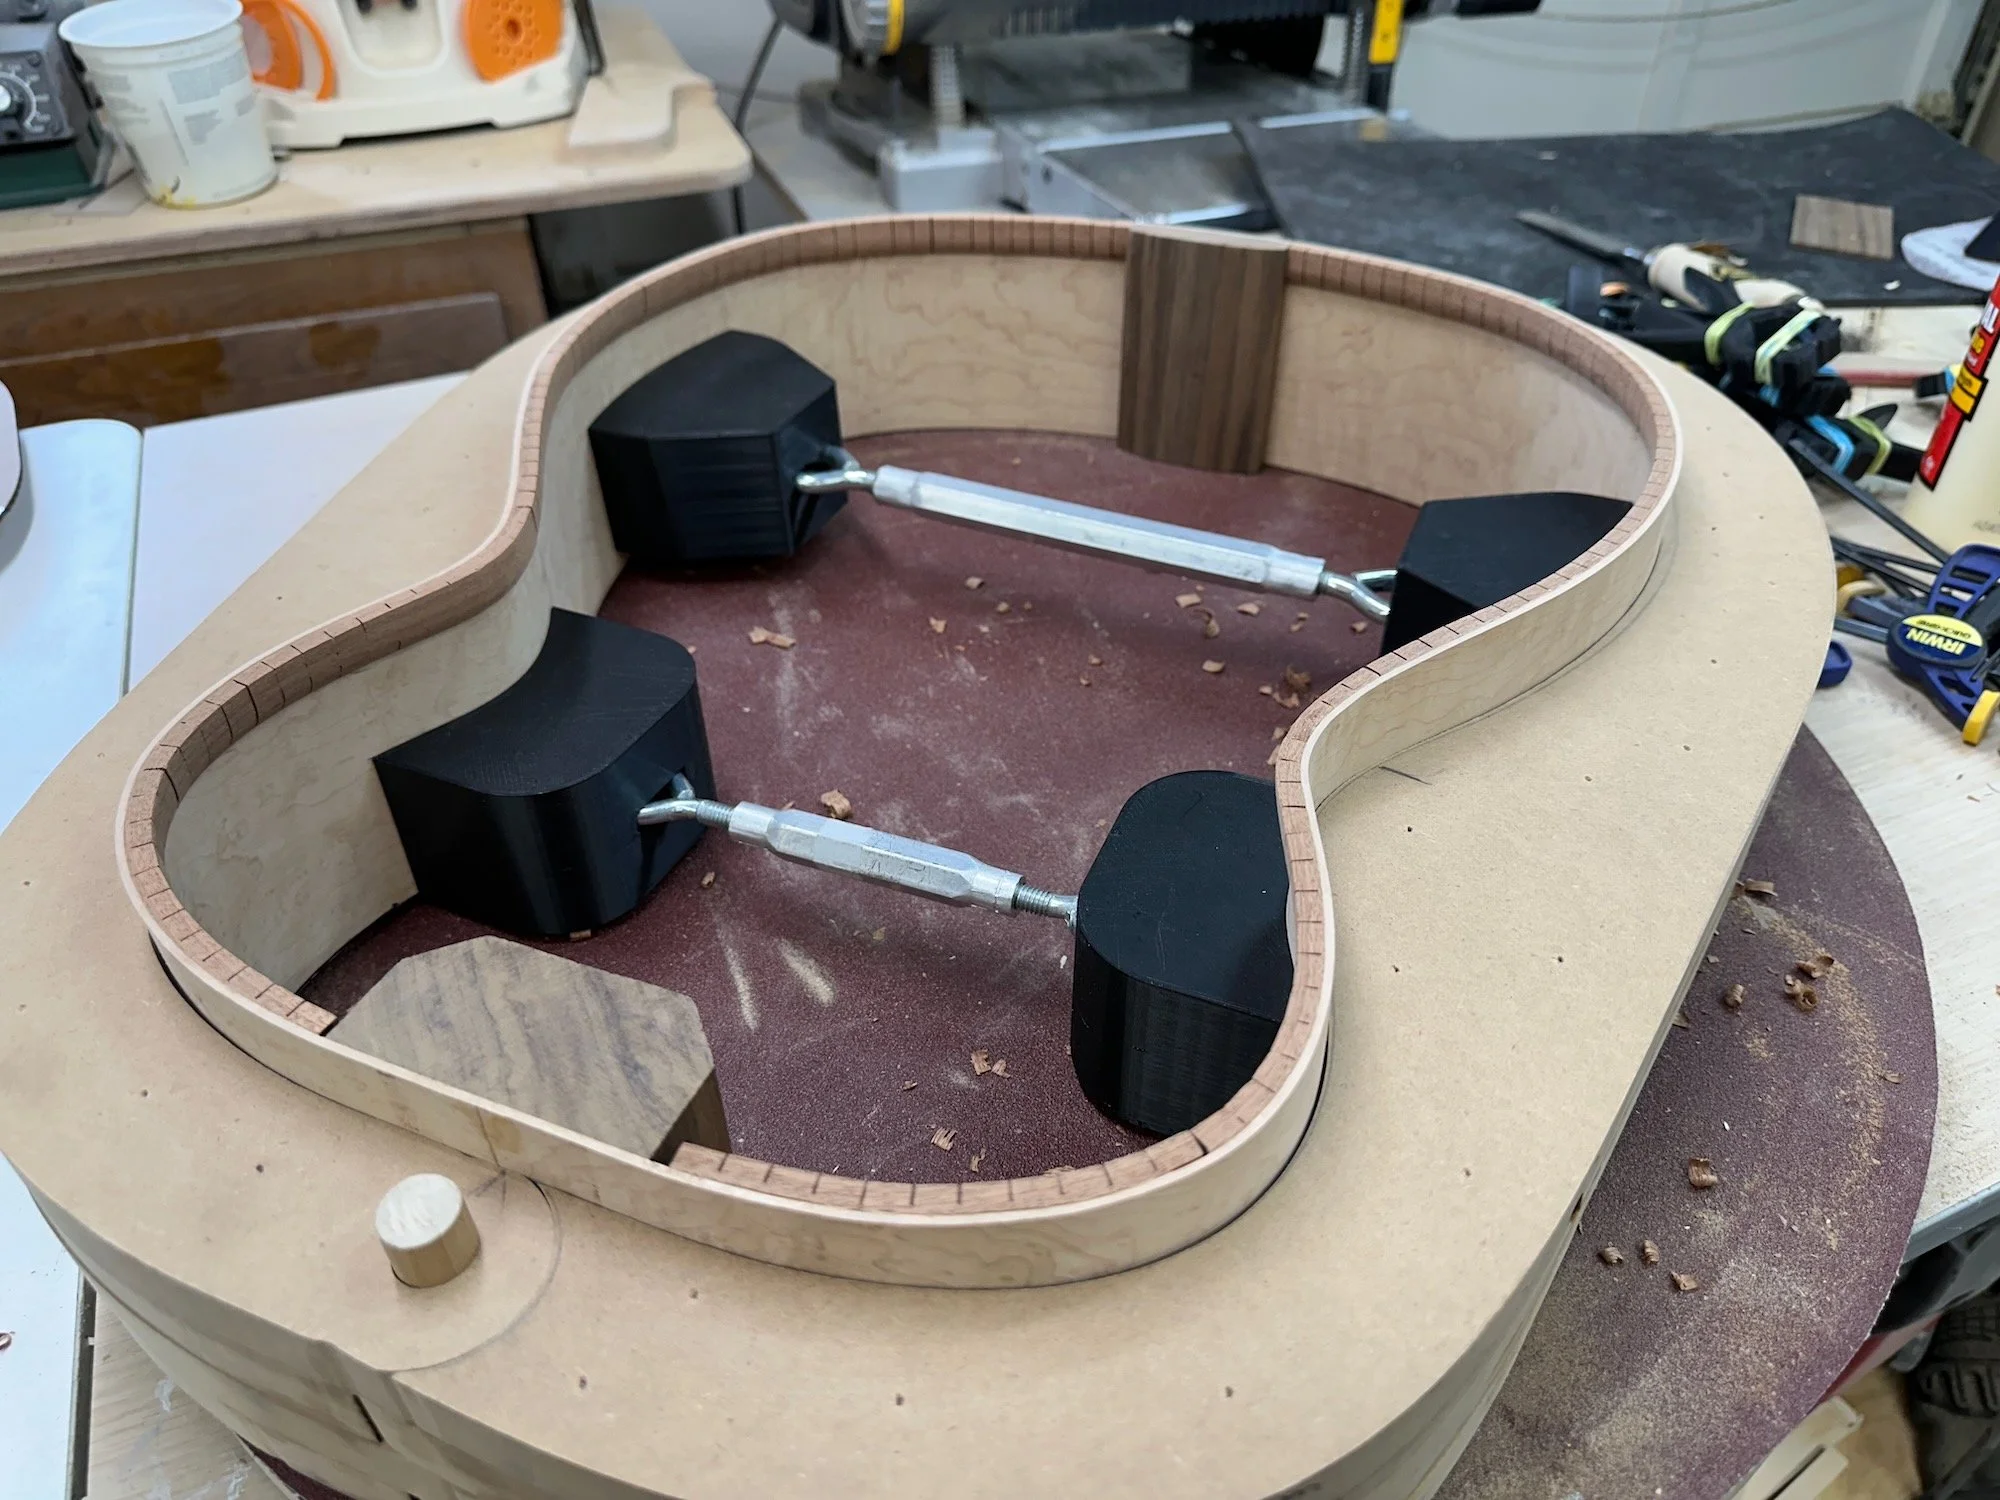
I 3D designed and printed top edge clamping molds that would hopefully keep the edges from curling/cupping (#4).
Use as many clamps as possible, along with the new edge mold, to “flatten” the wood perpendicularly (#5 and #6).
Leave the panel to dry on the mold longer. I chose a minimum of 48 hours.
Fortunately, these changes worked. The bent panel held its shape quite well (#7) and there was minimal warpage(#8).
I did notice later though, over time, the waist areas had some perpendicular rippling, I’m assuming that was from the moisture further escaping. Overall though, it appeared to be such a minimal amount it could probably be corrected in the final stage of flat sanding the sides (once the top and bottom are attached.)
Trimming the Ends and Placing the Blocks
With the sides shaped and ready to go, the next step was to trim the ends to butt together so the top and bottom blocks could be glued in.
I first fit the sides into the full body mold for stability. Then I marked and cut the ends to fit flush with each other (#9). For cutting I used this Japanese Pull saw. To keep the cut angle consistent I use a solid 1-2-3 block with neodymium magnets attached to it (#10). I then clamp the 1-2-3 block down once the saw-blade is set up on the cut line (#11). The saw sticking to the block via the magnets ensures a straight and clean 90 degree cut with the freedom of sawing movement.
I made the top and back blocks from Walnut. The back block has to be shaped to match the inner curve against the rounded panels. Both blocks have to be shaped to the slight angle of the sound board and back on their respective ends (about 92 degrees).
The final sizes after shaping:
front block - 76mm(w) x 35(d) x 85(h)
back block - 70mm(w) x 17(d) x 70(h)
I glued in the bottom block (#12) and the top block (#13). I left the blocks clamped in place to dry overnight (#14).
Creating the Radius Side Edging and Front Bout Taper
The front and back edges of the sides have to be trimmed to match the radius shapes of the Soundboard and Back. Additionally the side-taper on the Back at the upper bout (where the neck attaches) needs to be shaped. That taper drops 15mm compared to the overall edge height.
For side edge radius shaping it is common to set the sides (while still in the body mold) onto the radius, then turn or slide the sides back and forth allowing the radius shape to be formed by sanding the material away. This is similar to brace shaping (as explained earlier). This technique is commonly referred to as “driving the bus” (if the radius dish is on top it’s reminiscent of turning a large steering wheel).
With the amount of material needing removal I did not want to spend the amount of time and energy necessary to sand it all away. Instead, I opted to mark the radius line and then carve the majority off first with a hand plane/chisel.
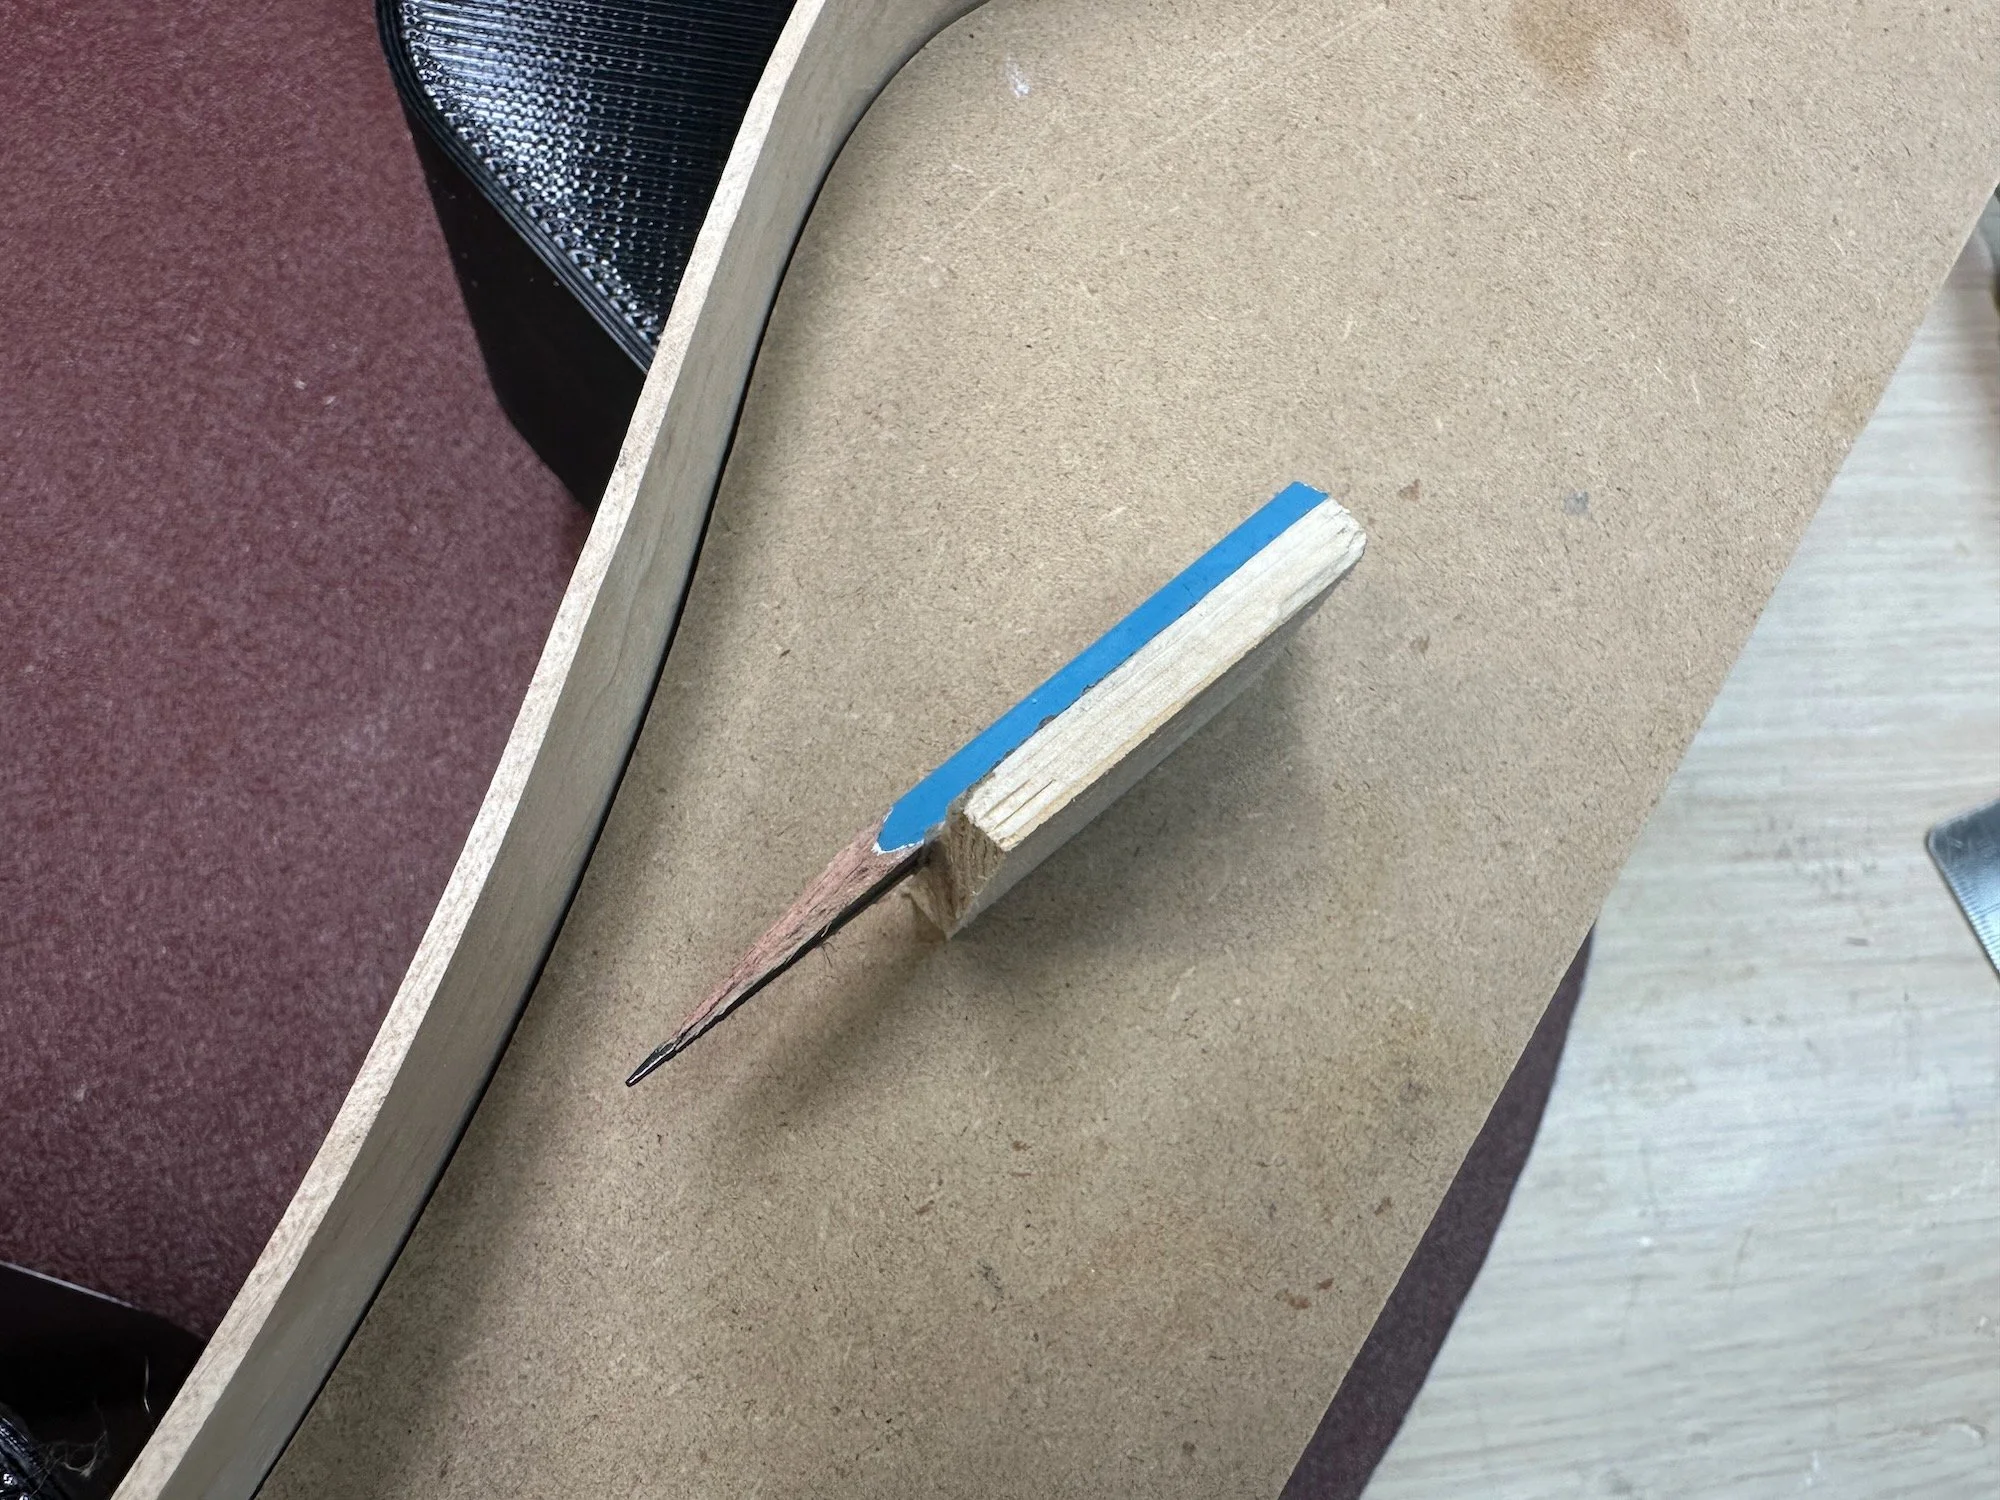
To mark the full radius shape I sat the sides (while in the mold) onto the radius dish. I then used a half flattened pencil attached to a block (#15) to scribe the line while sliding along the dish shape (#16). Since the dish is covered with sandpaper the block did not slide perfectly smooth but it worked well enough. If you’re wondering “why the block with the pencil?” The block is necessary due to a wide gap at the most curved portion that was taller than the pencil. The pencil has to be able to mark above that gap. I marked both edges of each side using their respective radius dishes. After removing the majority of the material with a plane/chisel I finished the final sanding by “driving the bus”.
For the upper bout taper shape, I eyeballed it by freehanding the tapered line on one side first (#17). I planed/chiseled the shape to the front center line.
To transfer the shape to the other side I used a tape pattern trick. I attached a piece of painters tape to the remaining area and traced the cut line to the tape (no photo). After cutting the tape on the line I carefully positioned the remaining tape on the opposite side to match (no photo). I drew the taper using the tape edge as a guide then proceeded to plane/chisel the second side to match the first side (#18).
Installing the Kerfing and Side Struts
With the sides all shaped I proceeded to make the kerfings from scrap Mahogany.
The size of the kerfing is 5.5mm x 17mm about 34 inches long. I first cut the kerfing strips on the table saw. I then tapered a half round edge using a hand plane and sandpaper. I cut the kerfing slots with my table saw using my narrow kerf fret blade. I installed the kerfings one half side at a time (#19, #20, #21) using a mix of squeeze clamps and rubber band clamps (3D printed using this file).
With the kerfings installed I added three Mahogany rectangular struts perpendicular to each side (#22, #23). With the glue dried I carved the struts with a chisel and cleaned them up with a round of sanding (#24, just like the soundboard braces).
That’s the finished sides! Next is assembling the Soundboard and Back to the sides.


